One of my hobbies outside of IT related things is woodworking. I primarily turn things on the lathe, but I do some other projects from time to time. One of those projects currently going on is building a set of barn doors for my house. You see, I have 3 dogs… a Dogue de Bordeaux, a Miniature Pinscher, and a Beagle. The DDB and the MinPin could have free reign of the house and there would be no issues…. the Beagle on the other hand, I think he was actually destined to be a billy goat. If it will fit in his mouth, he will eat it (Apparently this is all Beagles… oh if I had known then what I know now, my wife and I did a fair bit of research before we got him and somehow did not stumble onto this valuable tidbit of information until after the fact). Therefore, whenever he is in the house, we have to keep him contained to an area where there is nothing on the floor for him to get and we can keep an eye on him. This necessitates the use of baby gates… but baby gates become a pain in the butt after awhile… and we’ve broken more than one. Combine that with my wife’s affinity for HGTV, and BAM! Barn doors.
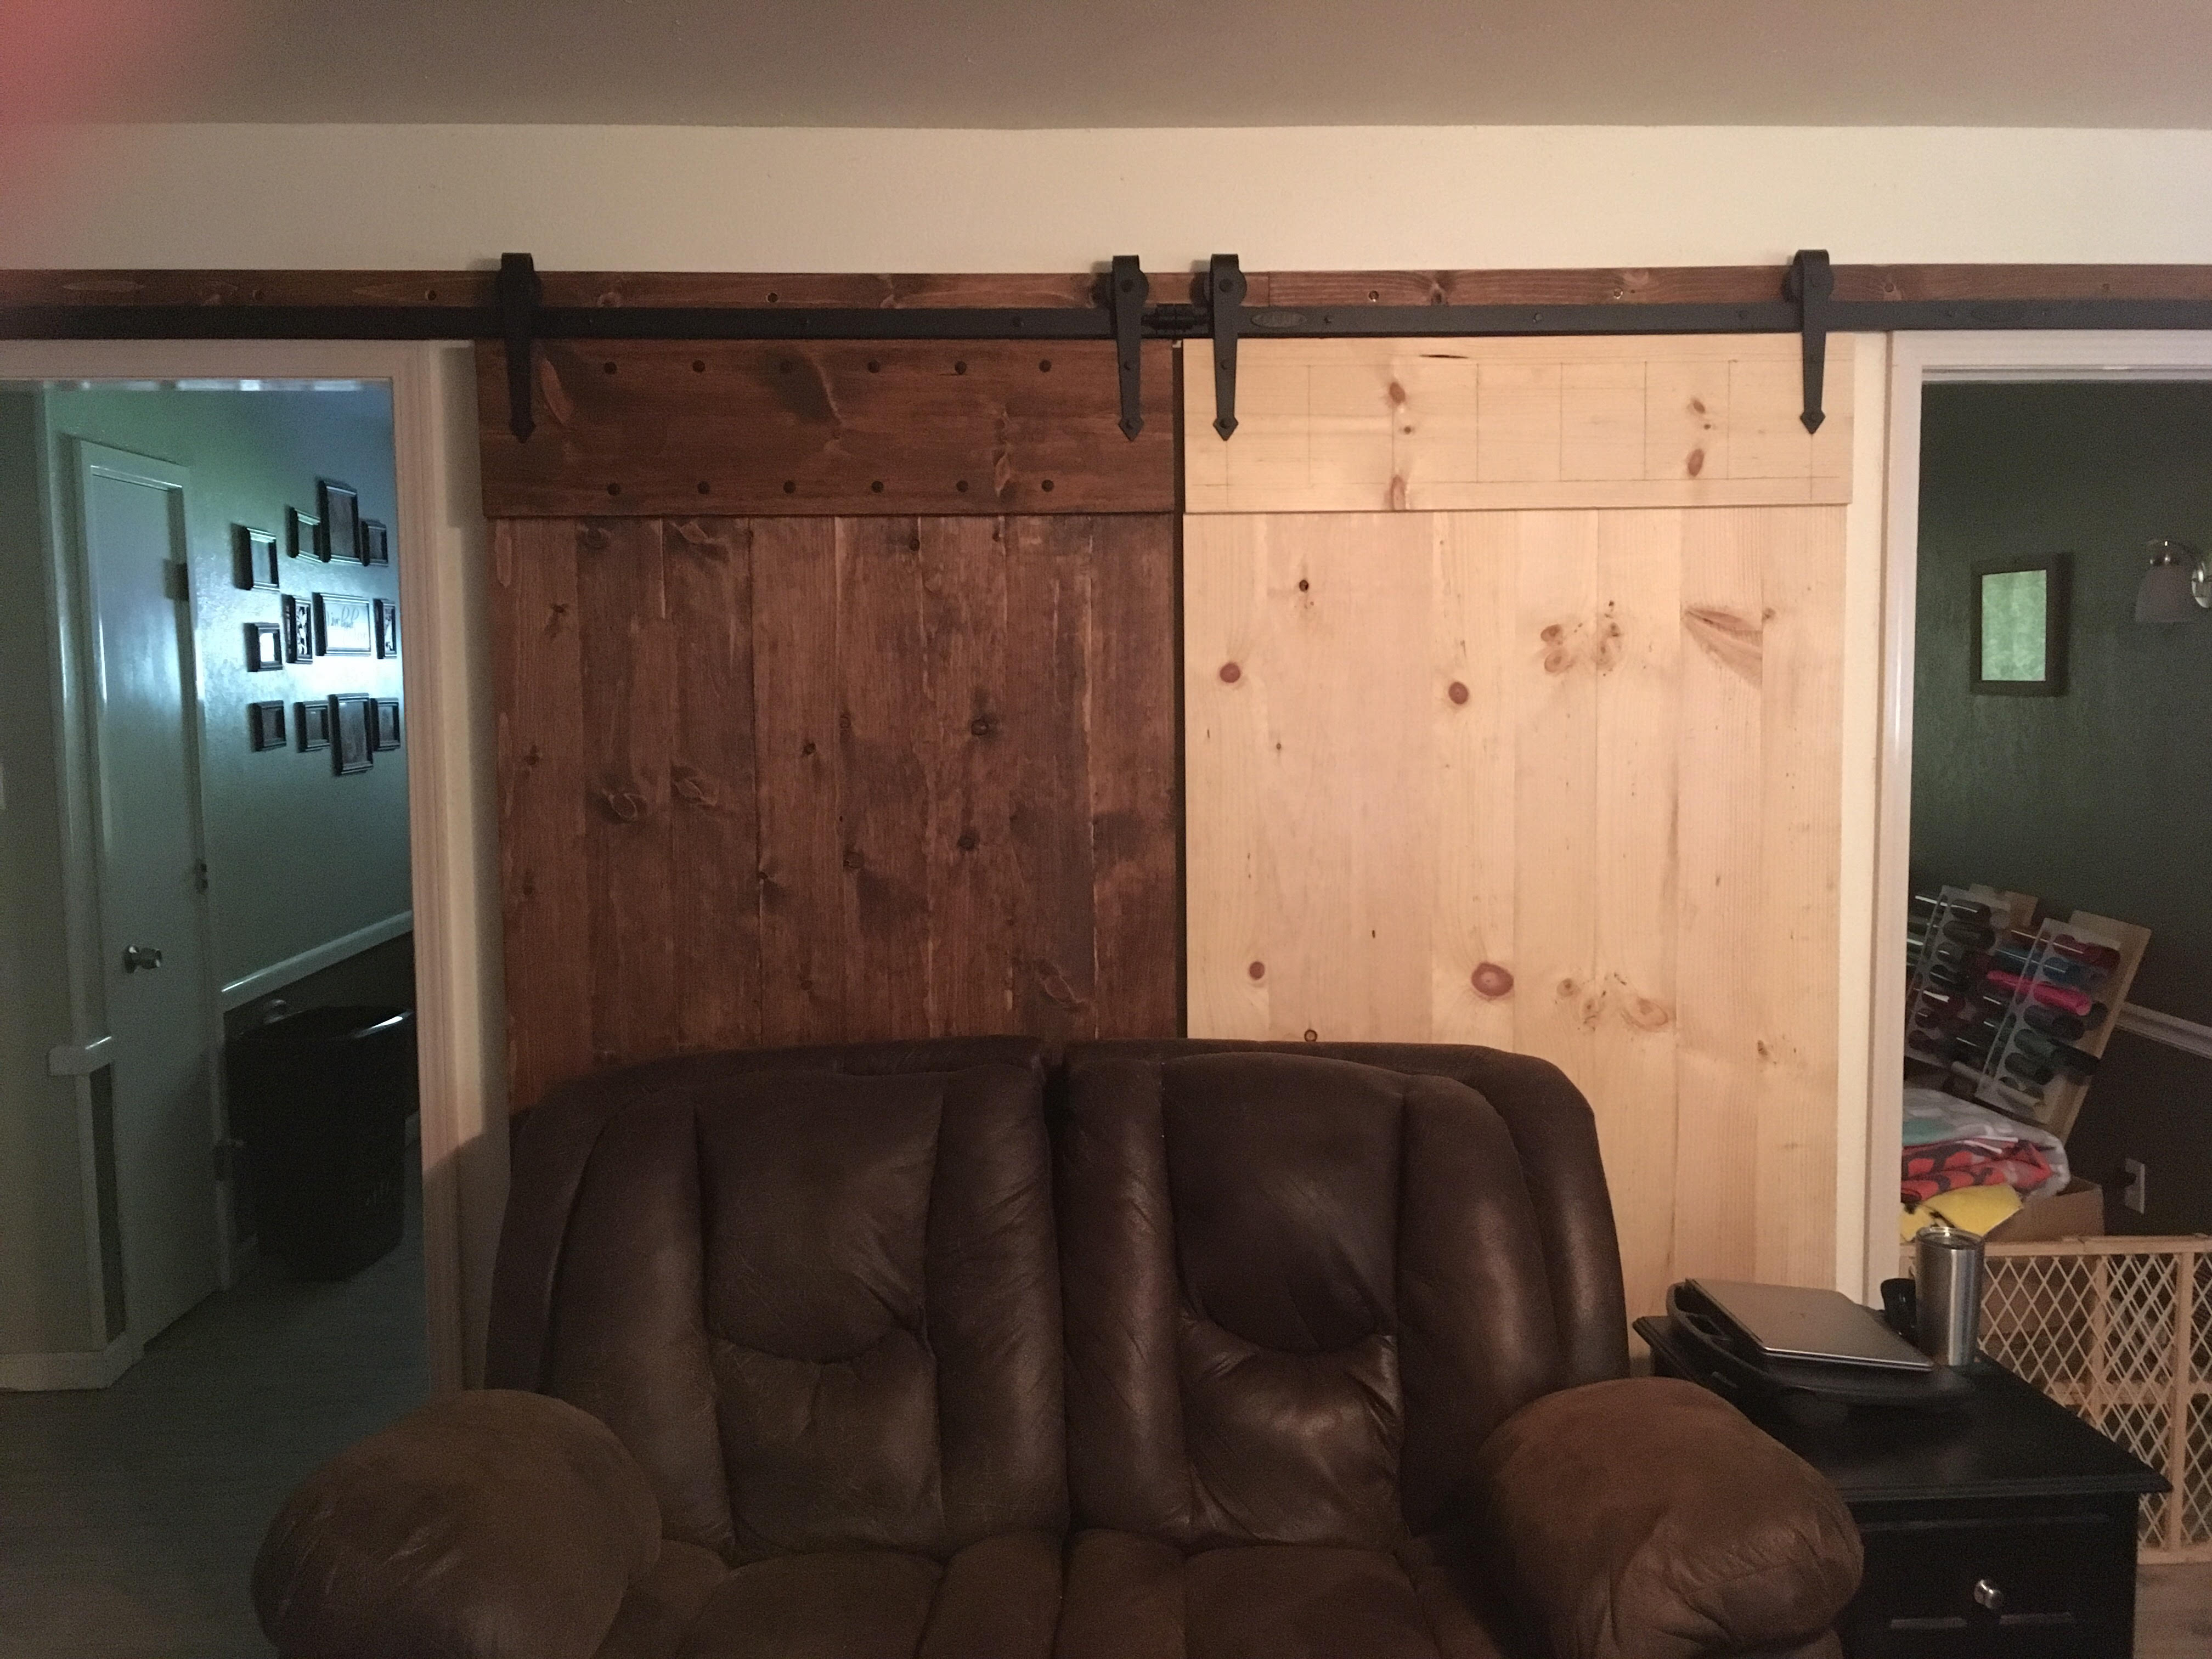
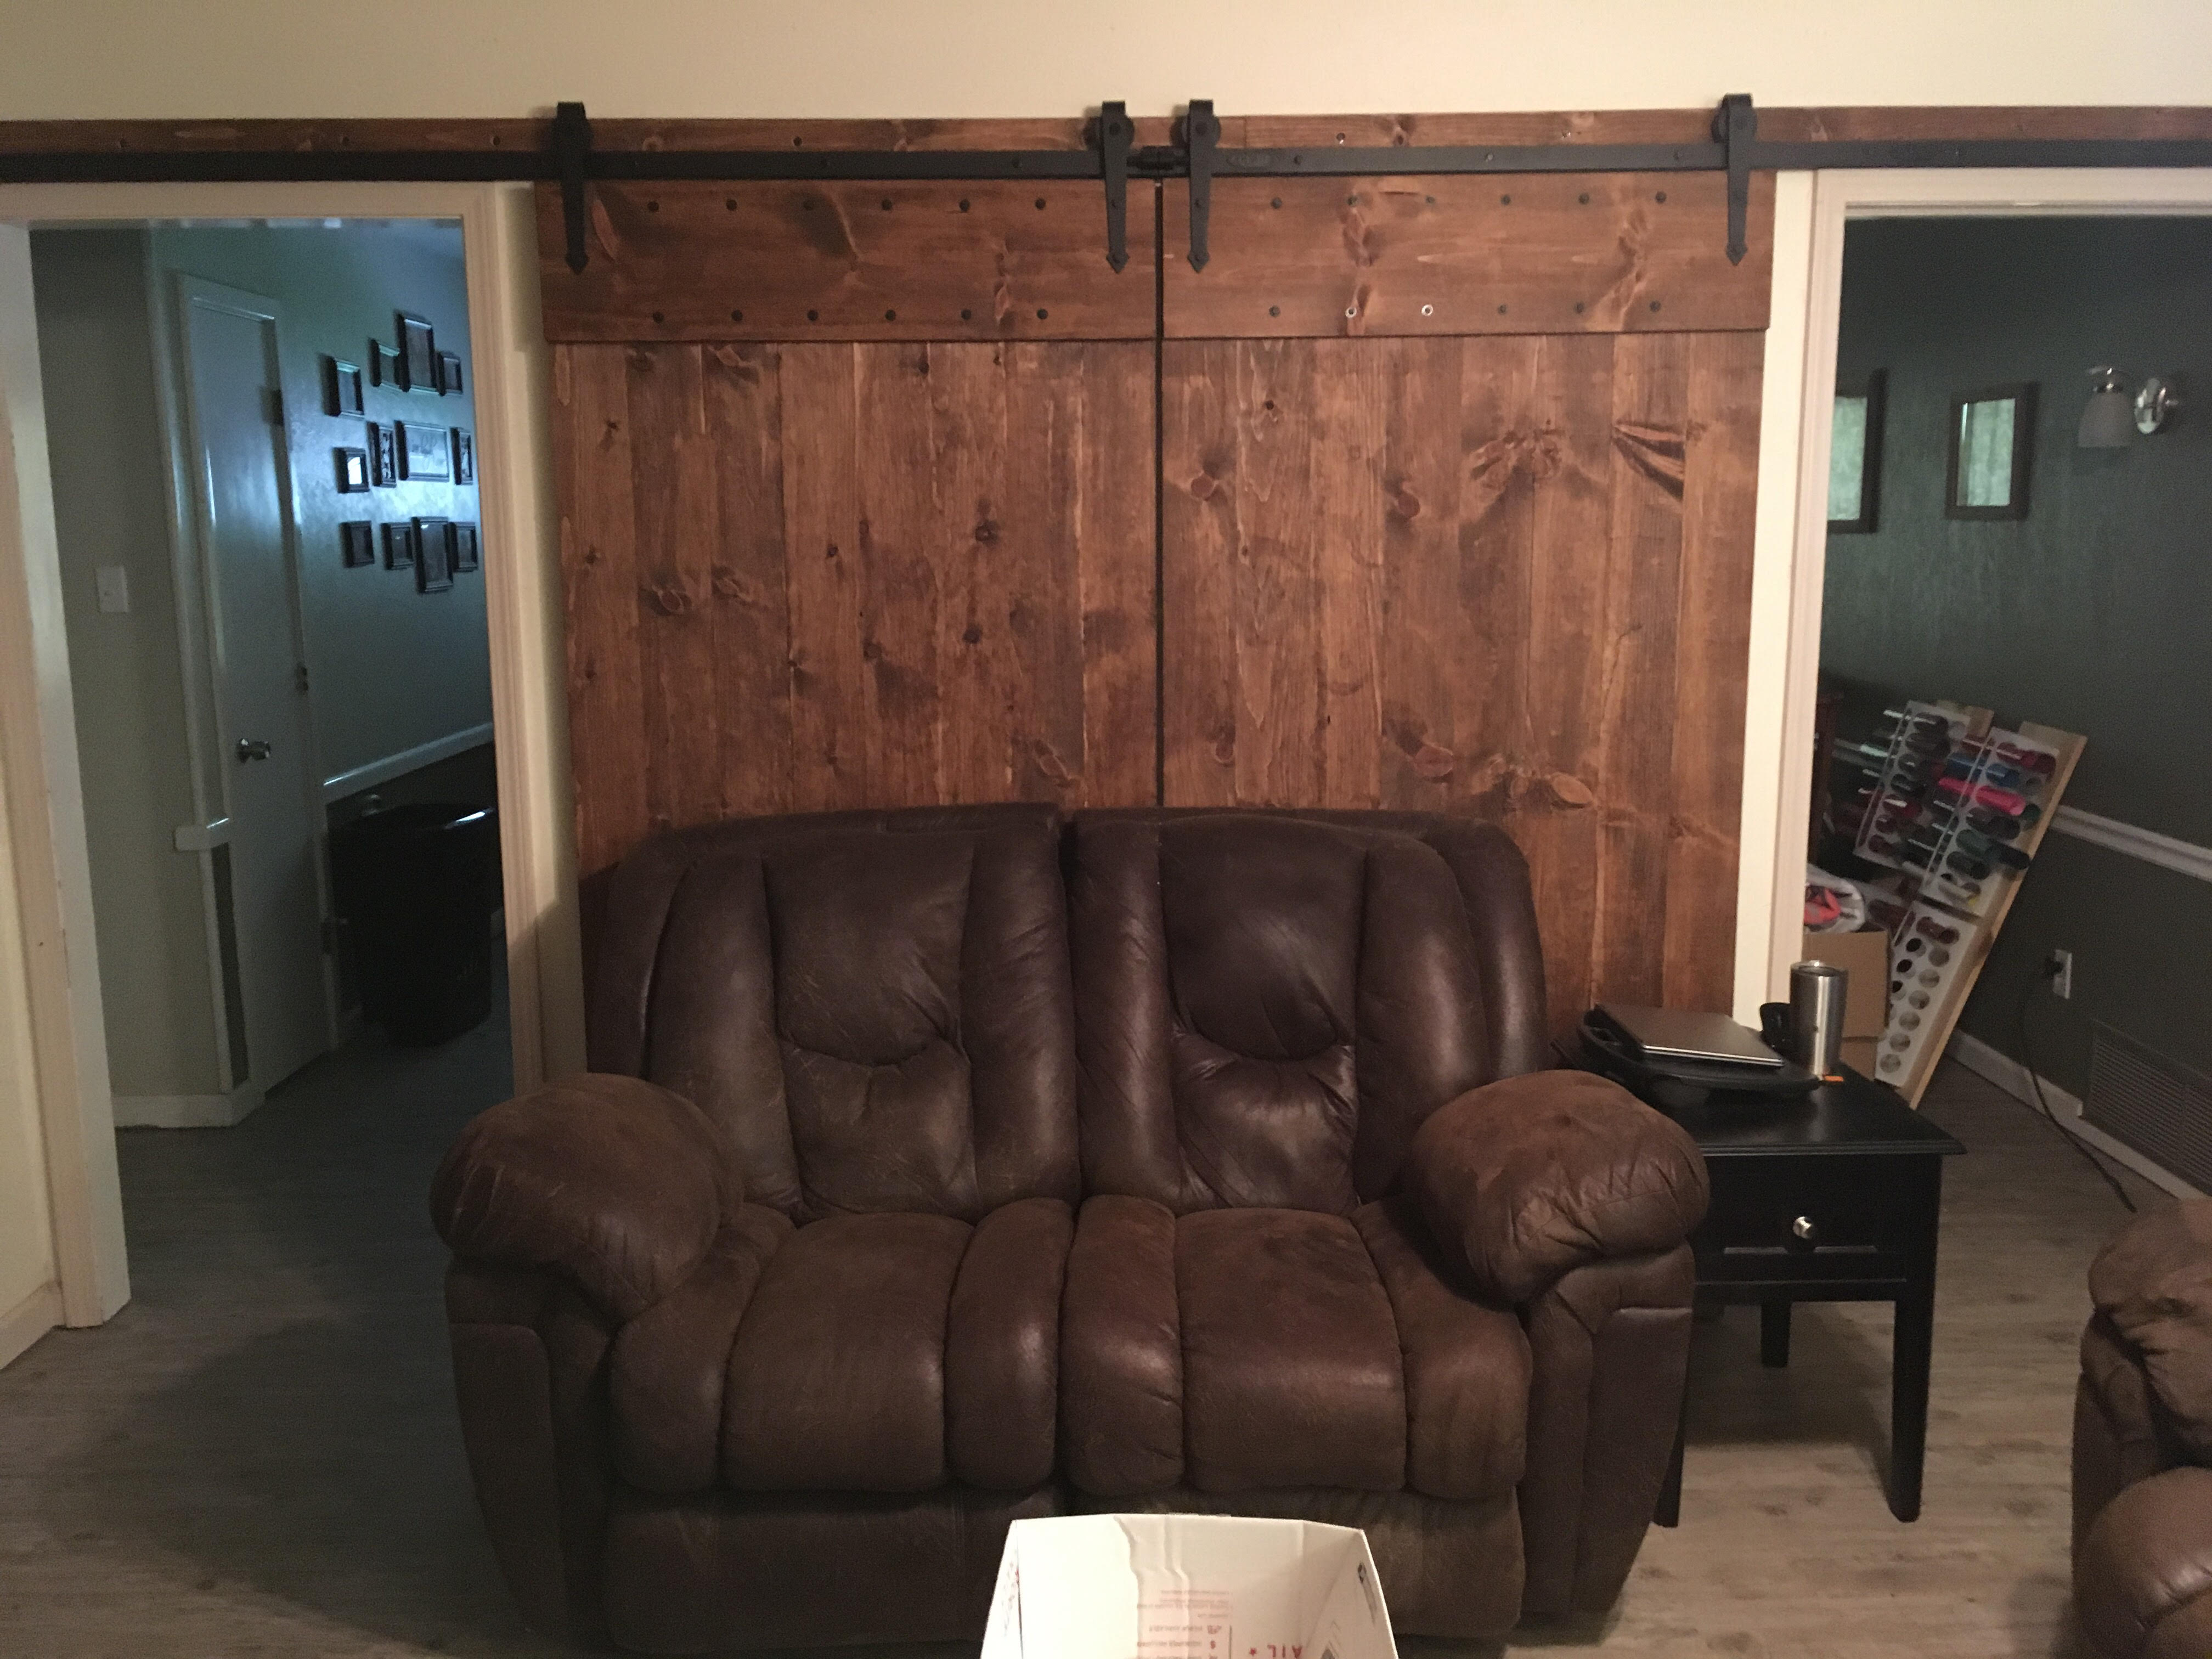
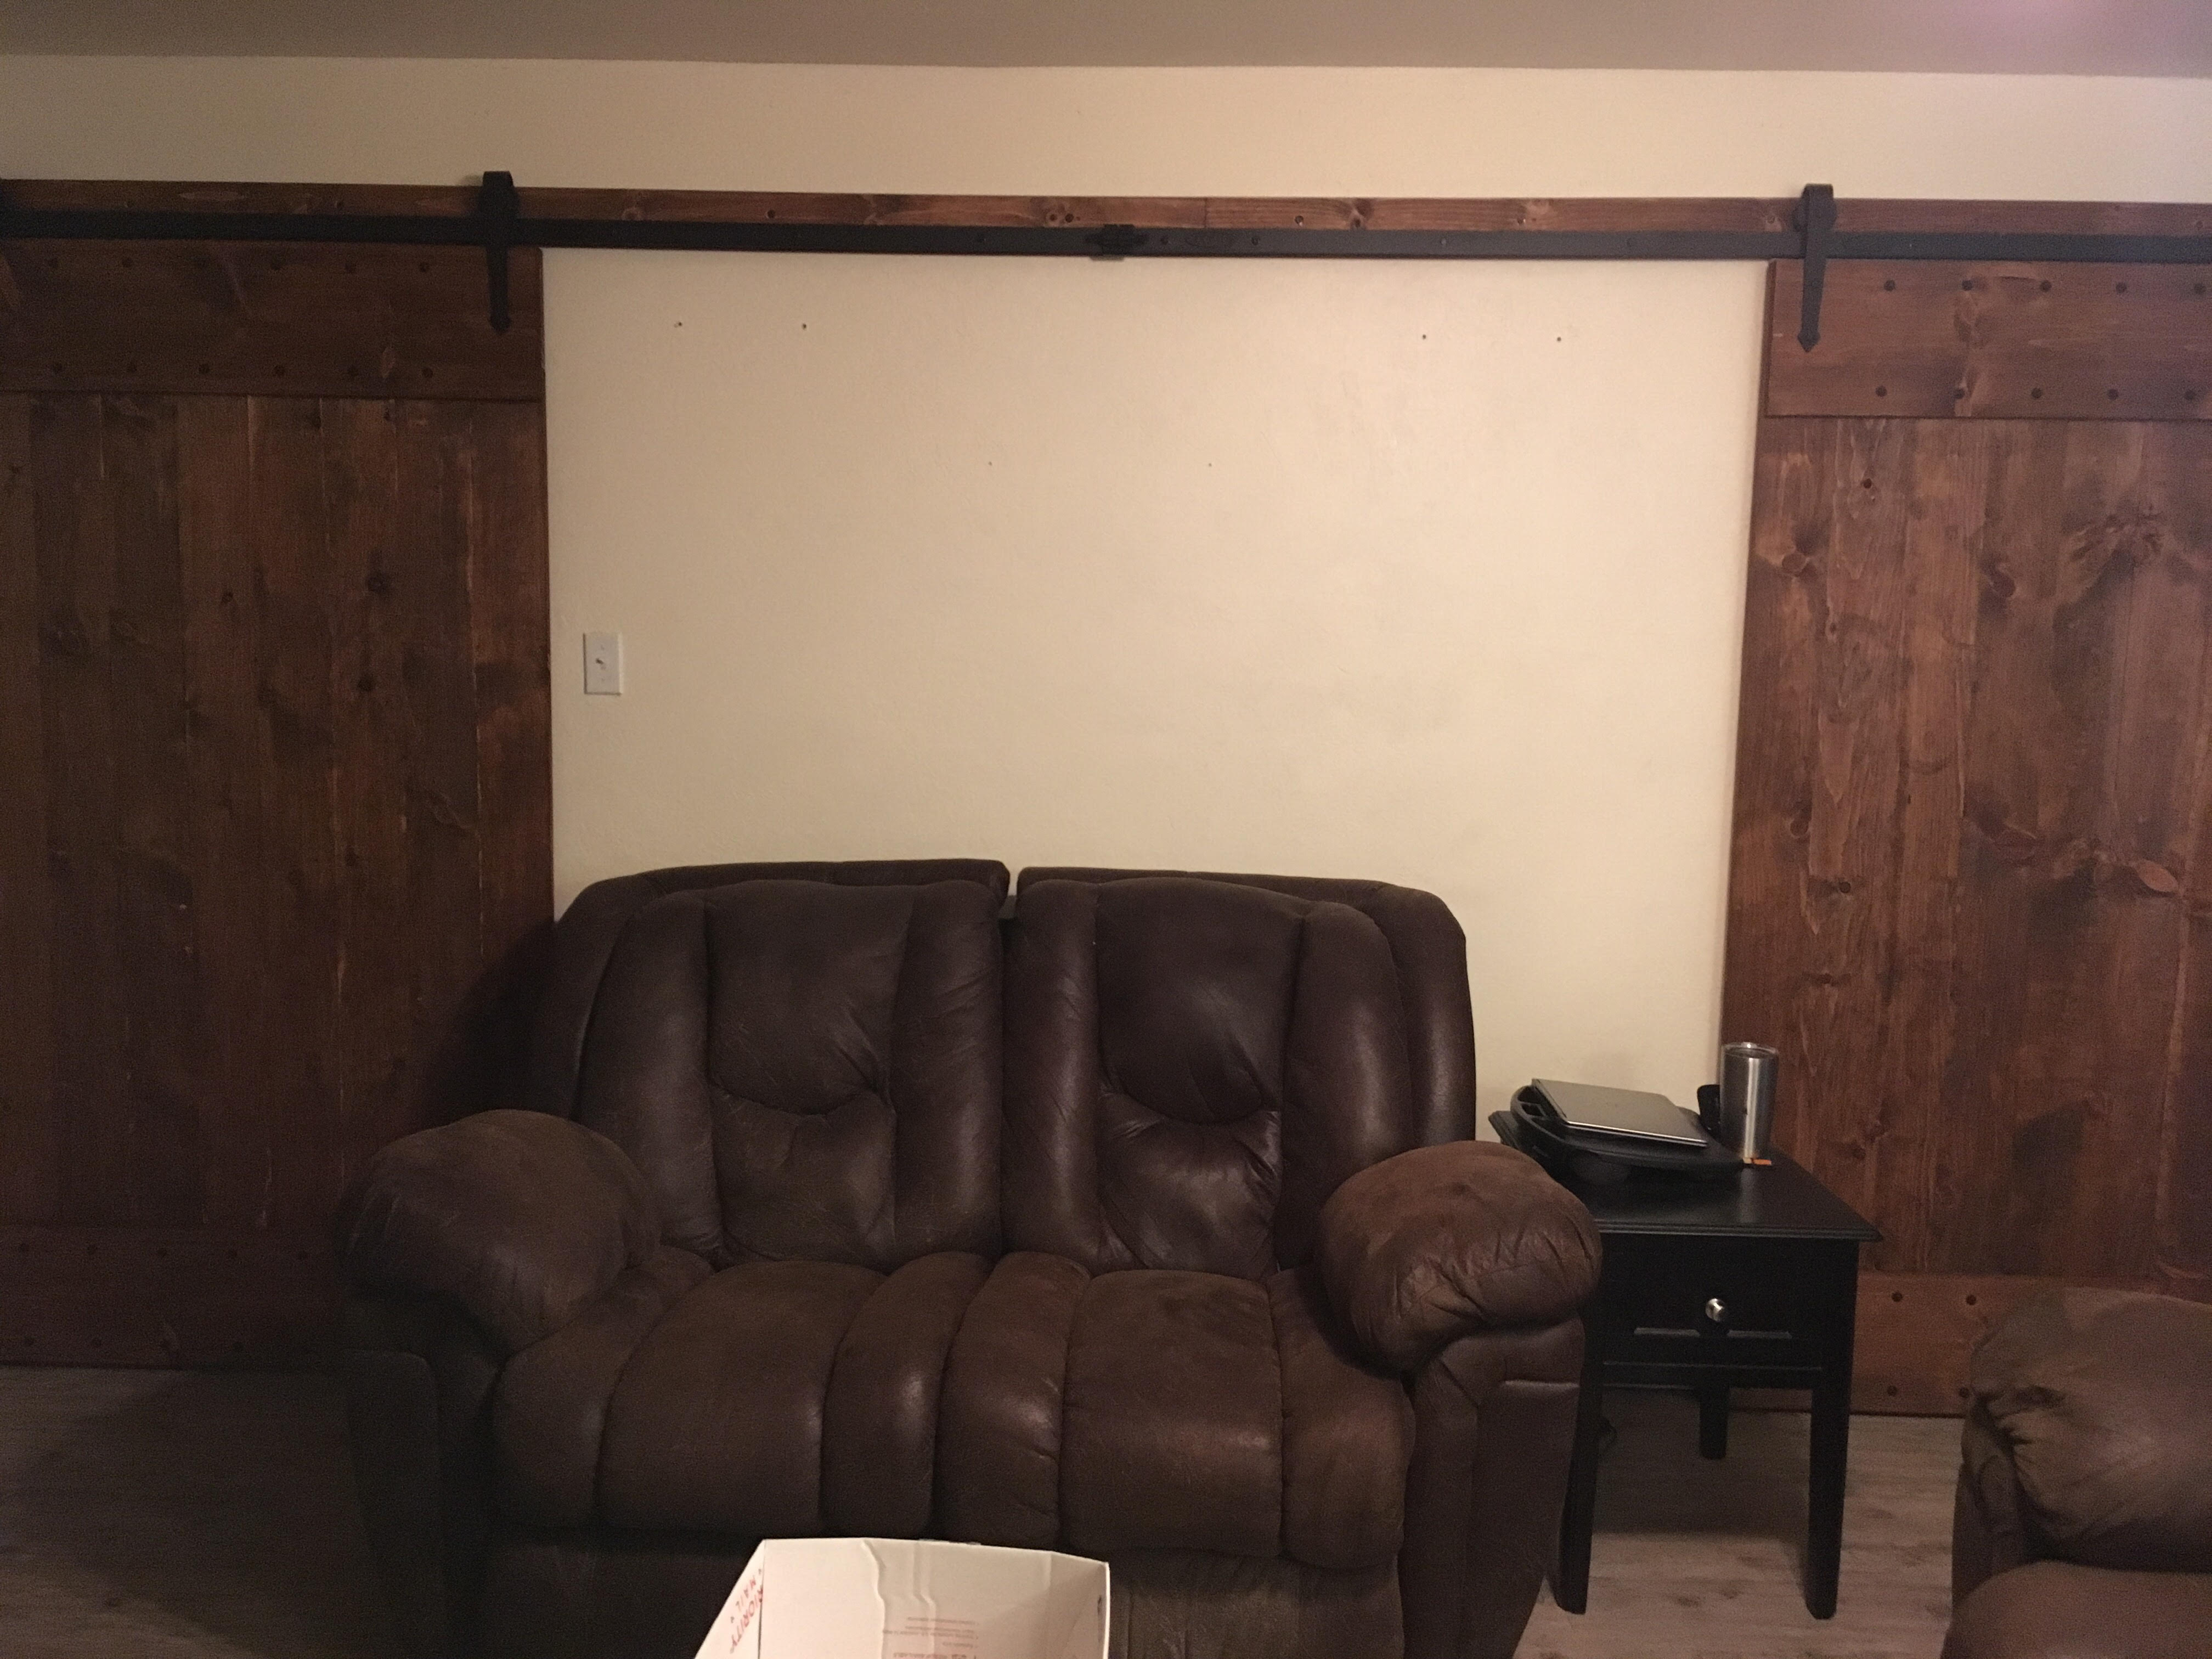
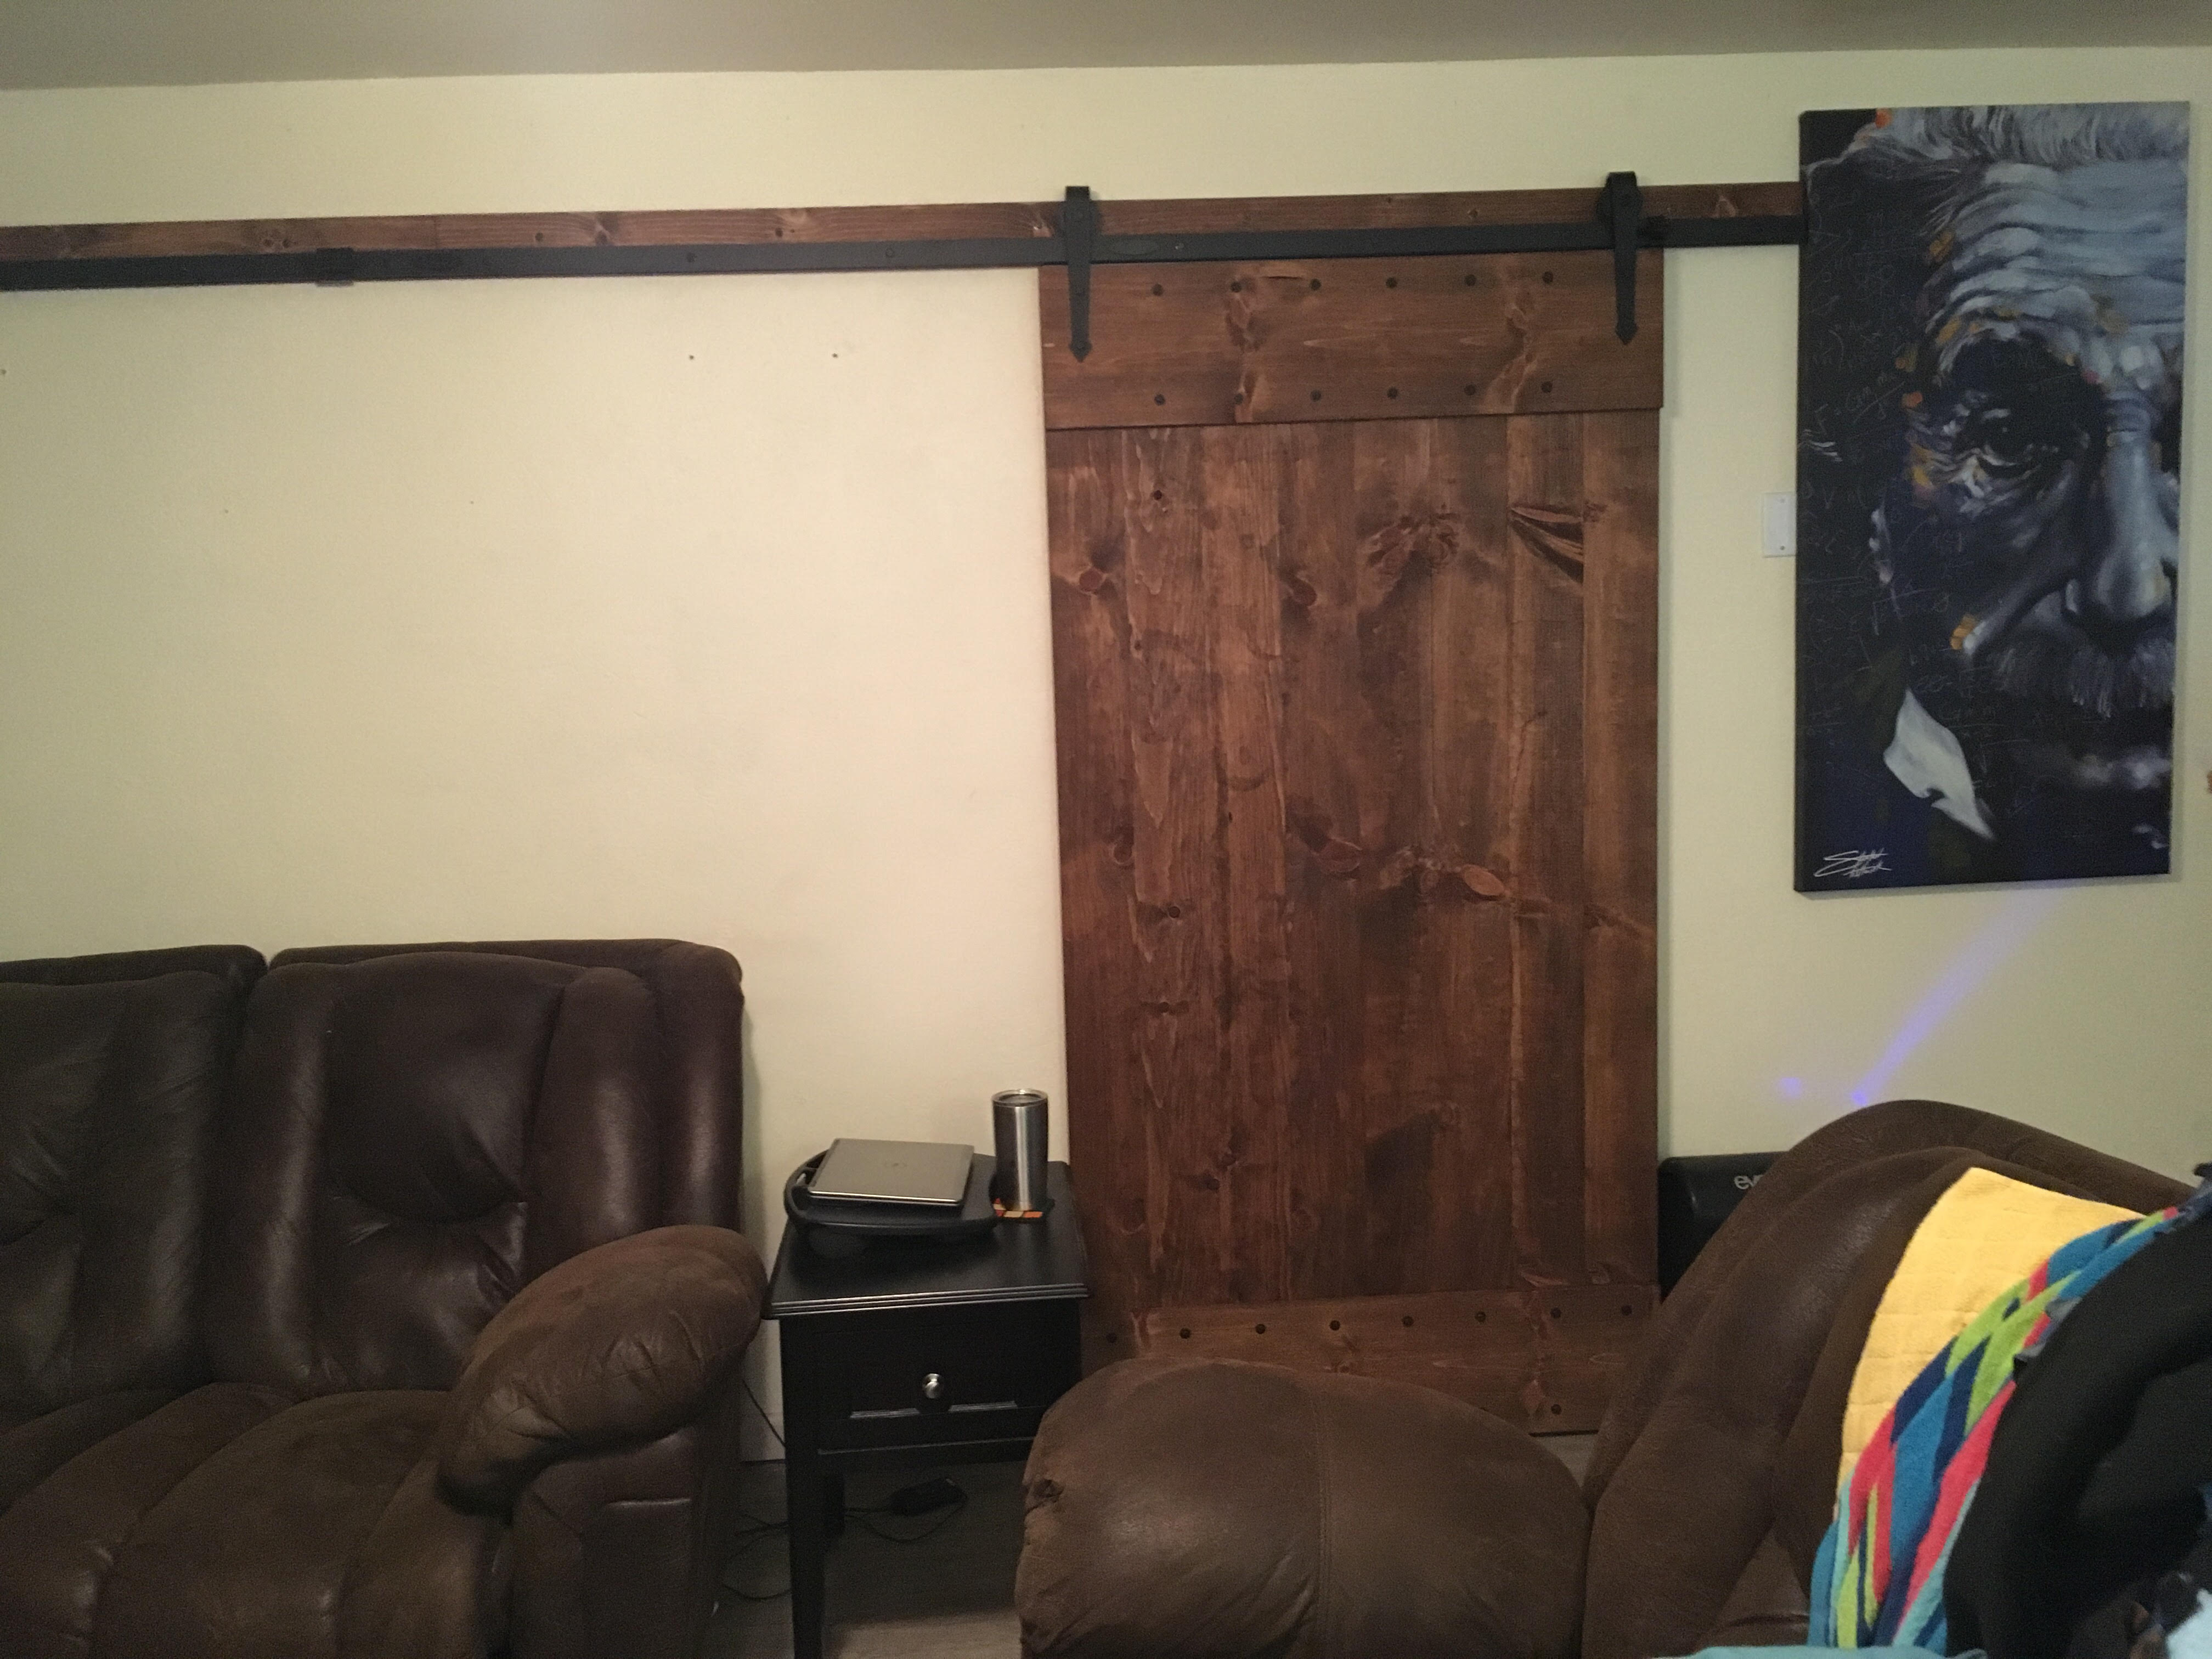
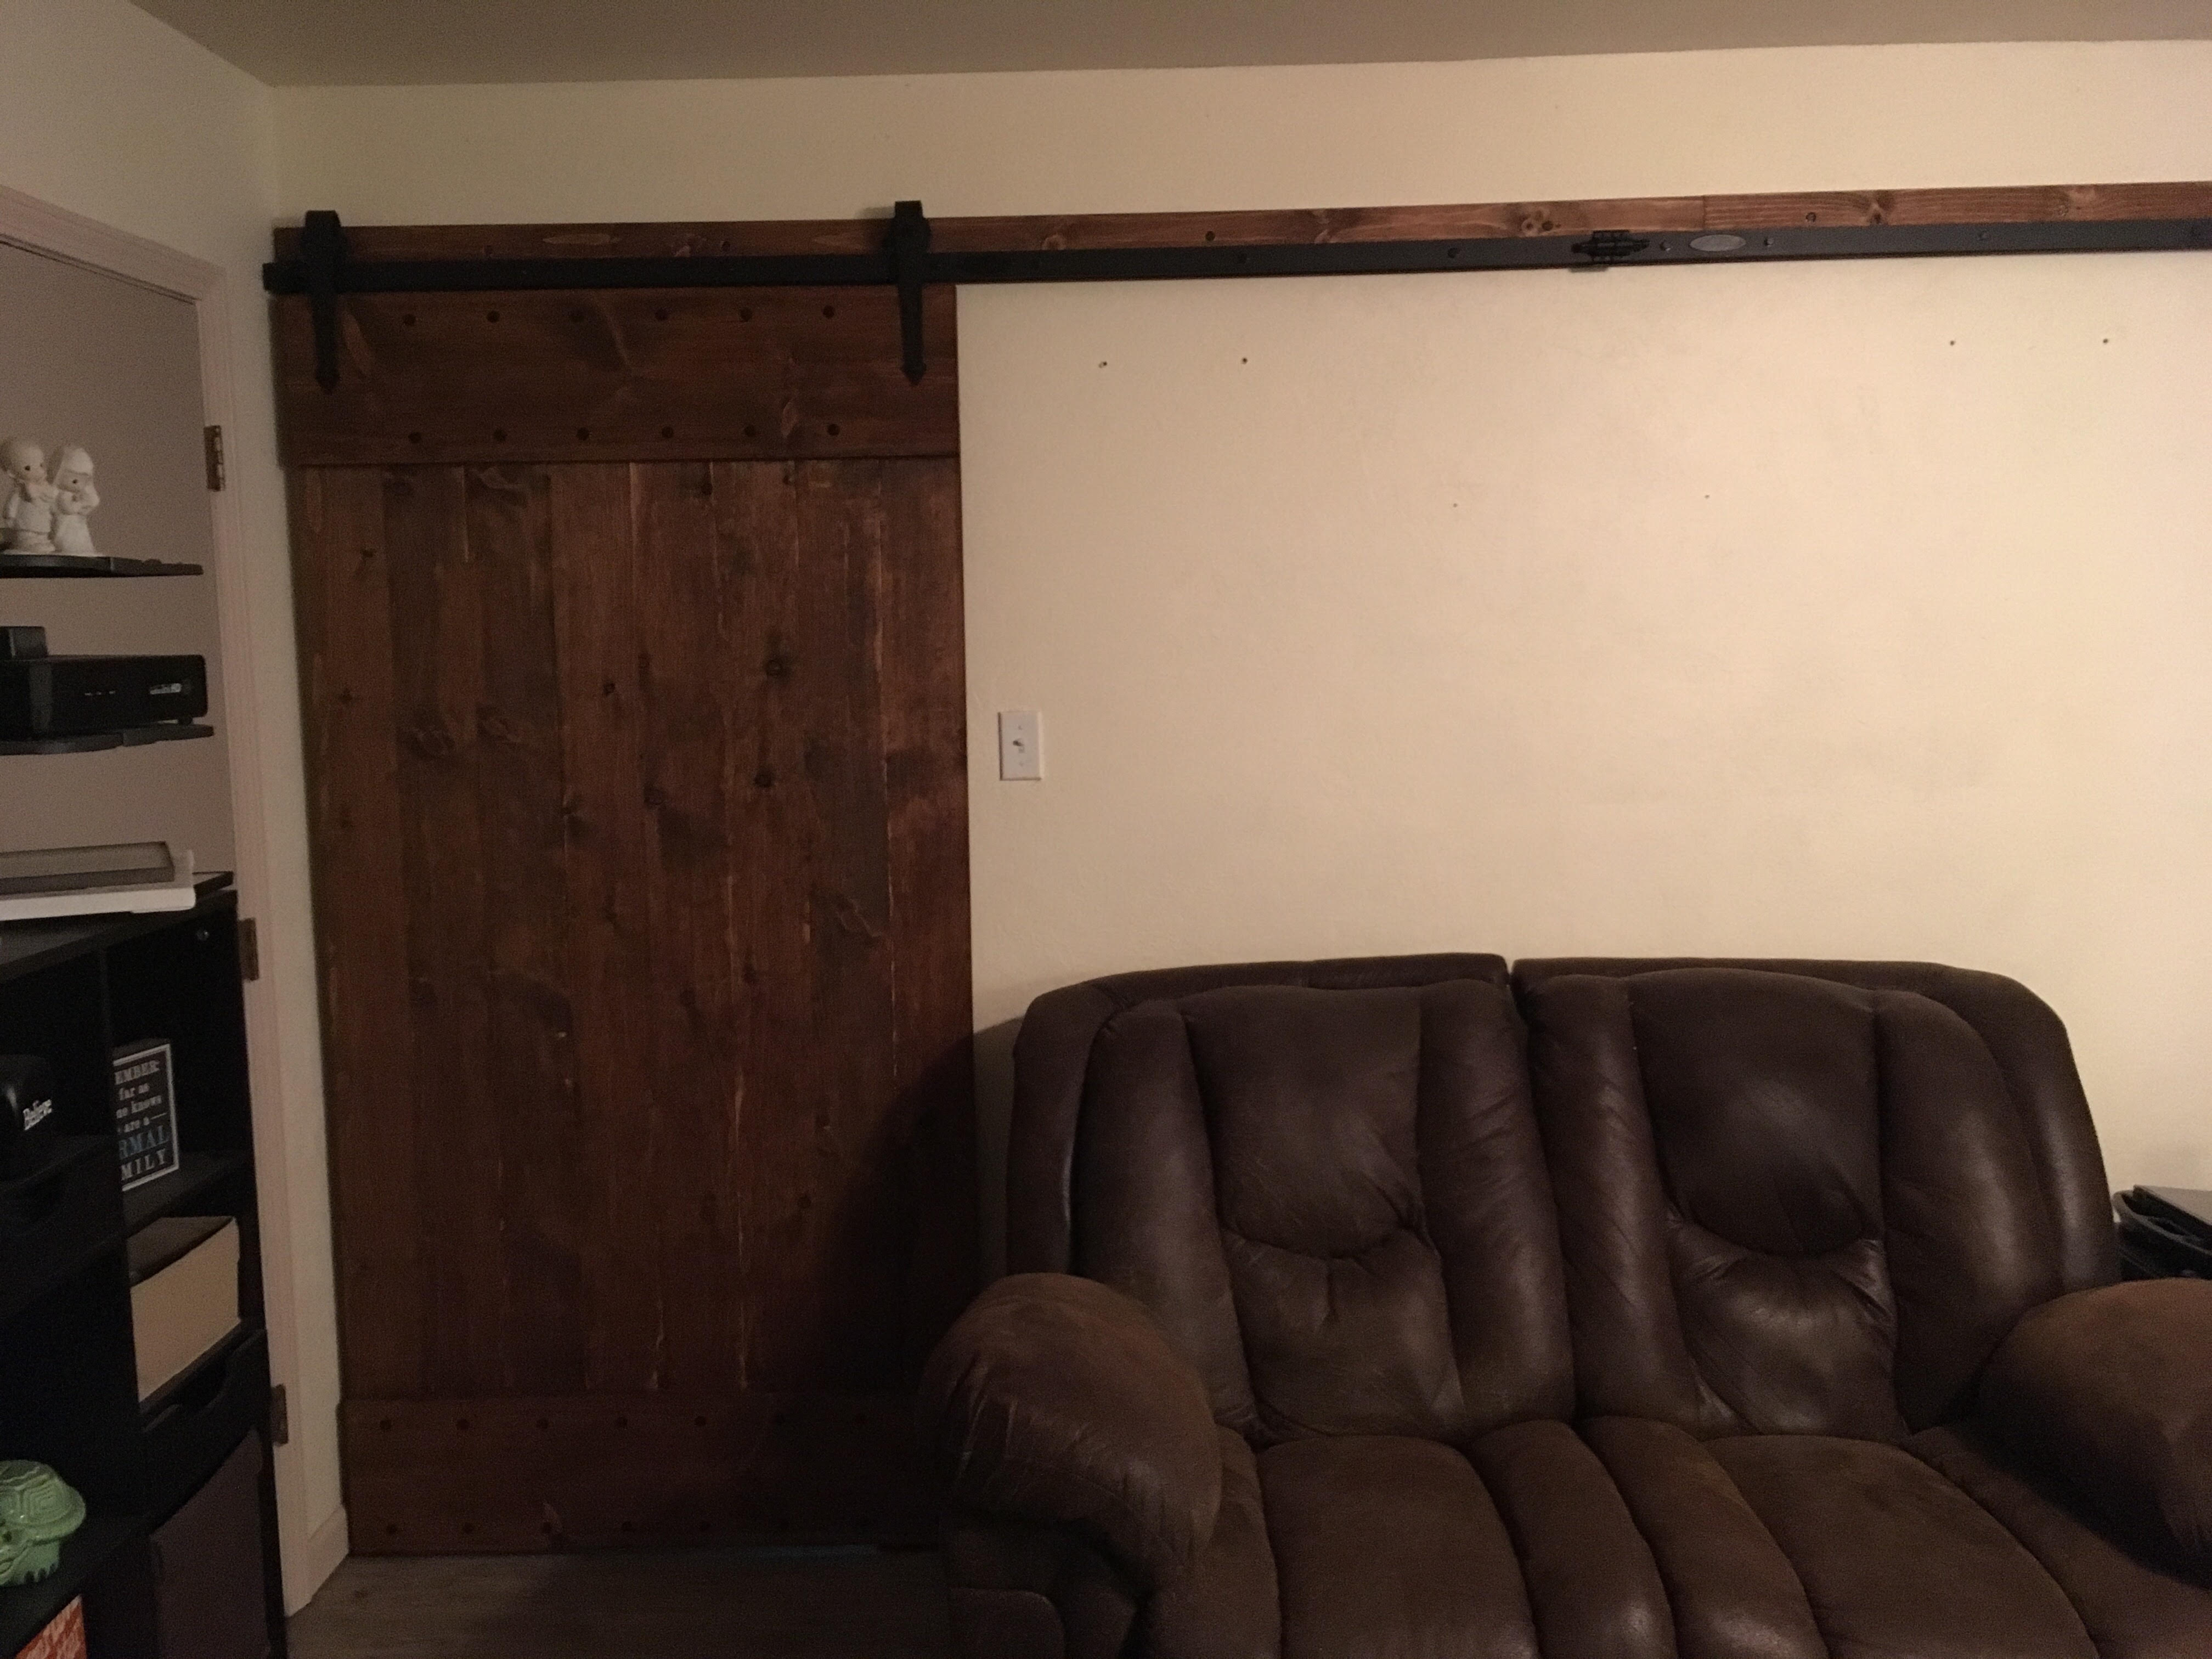
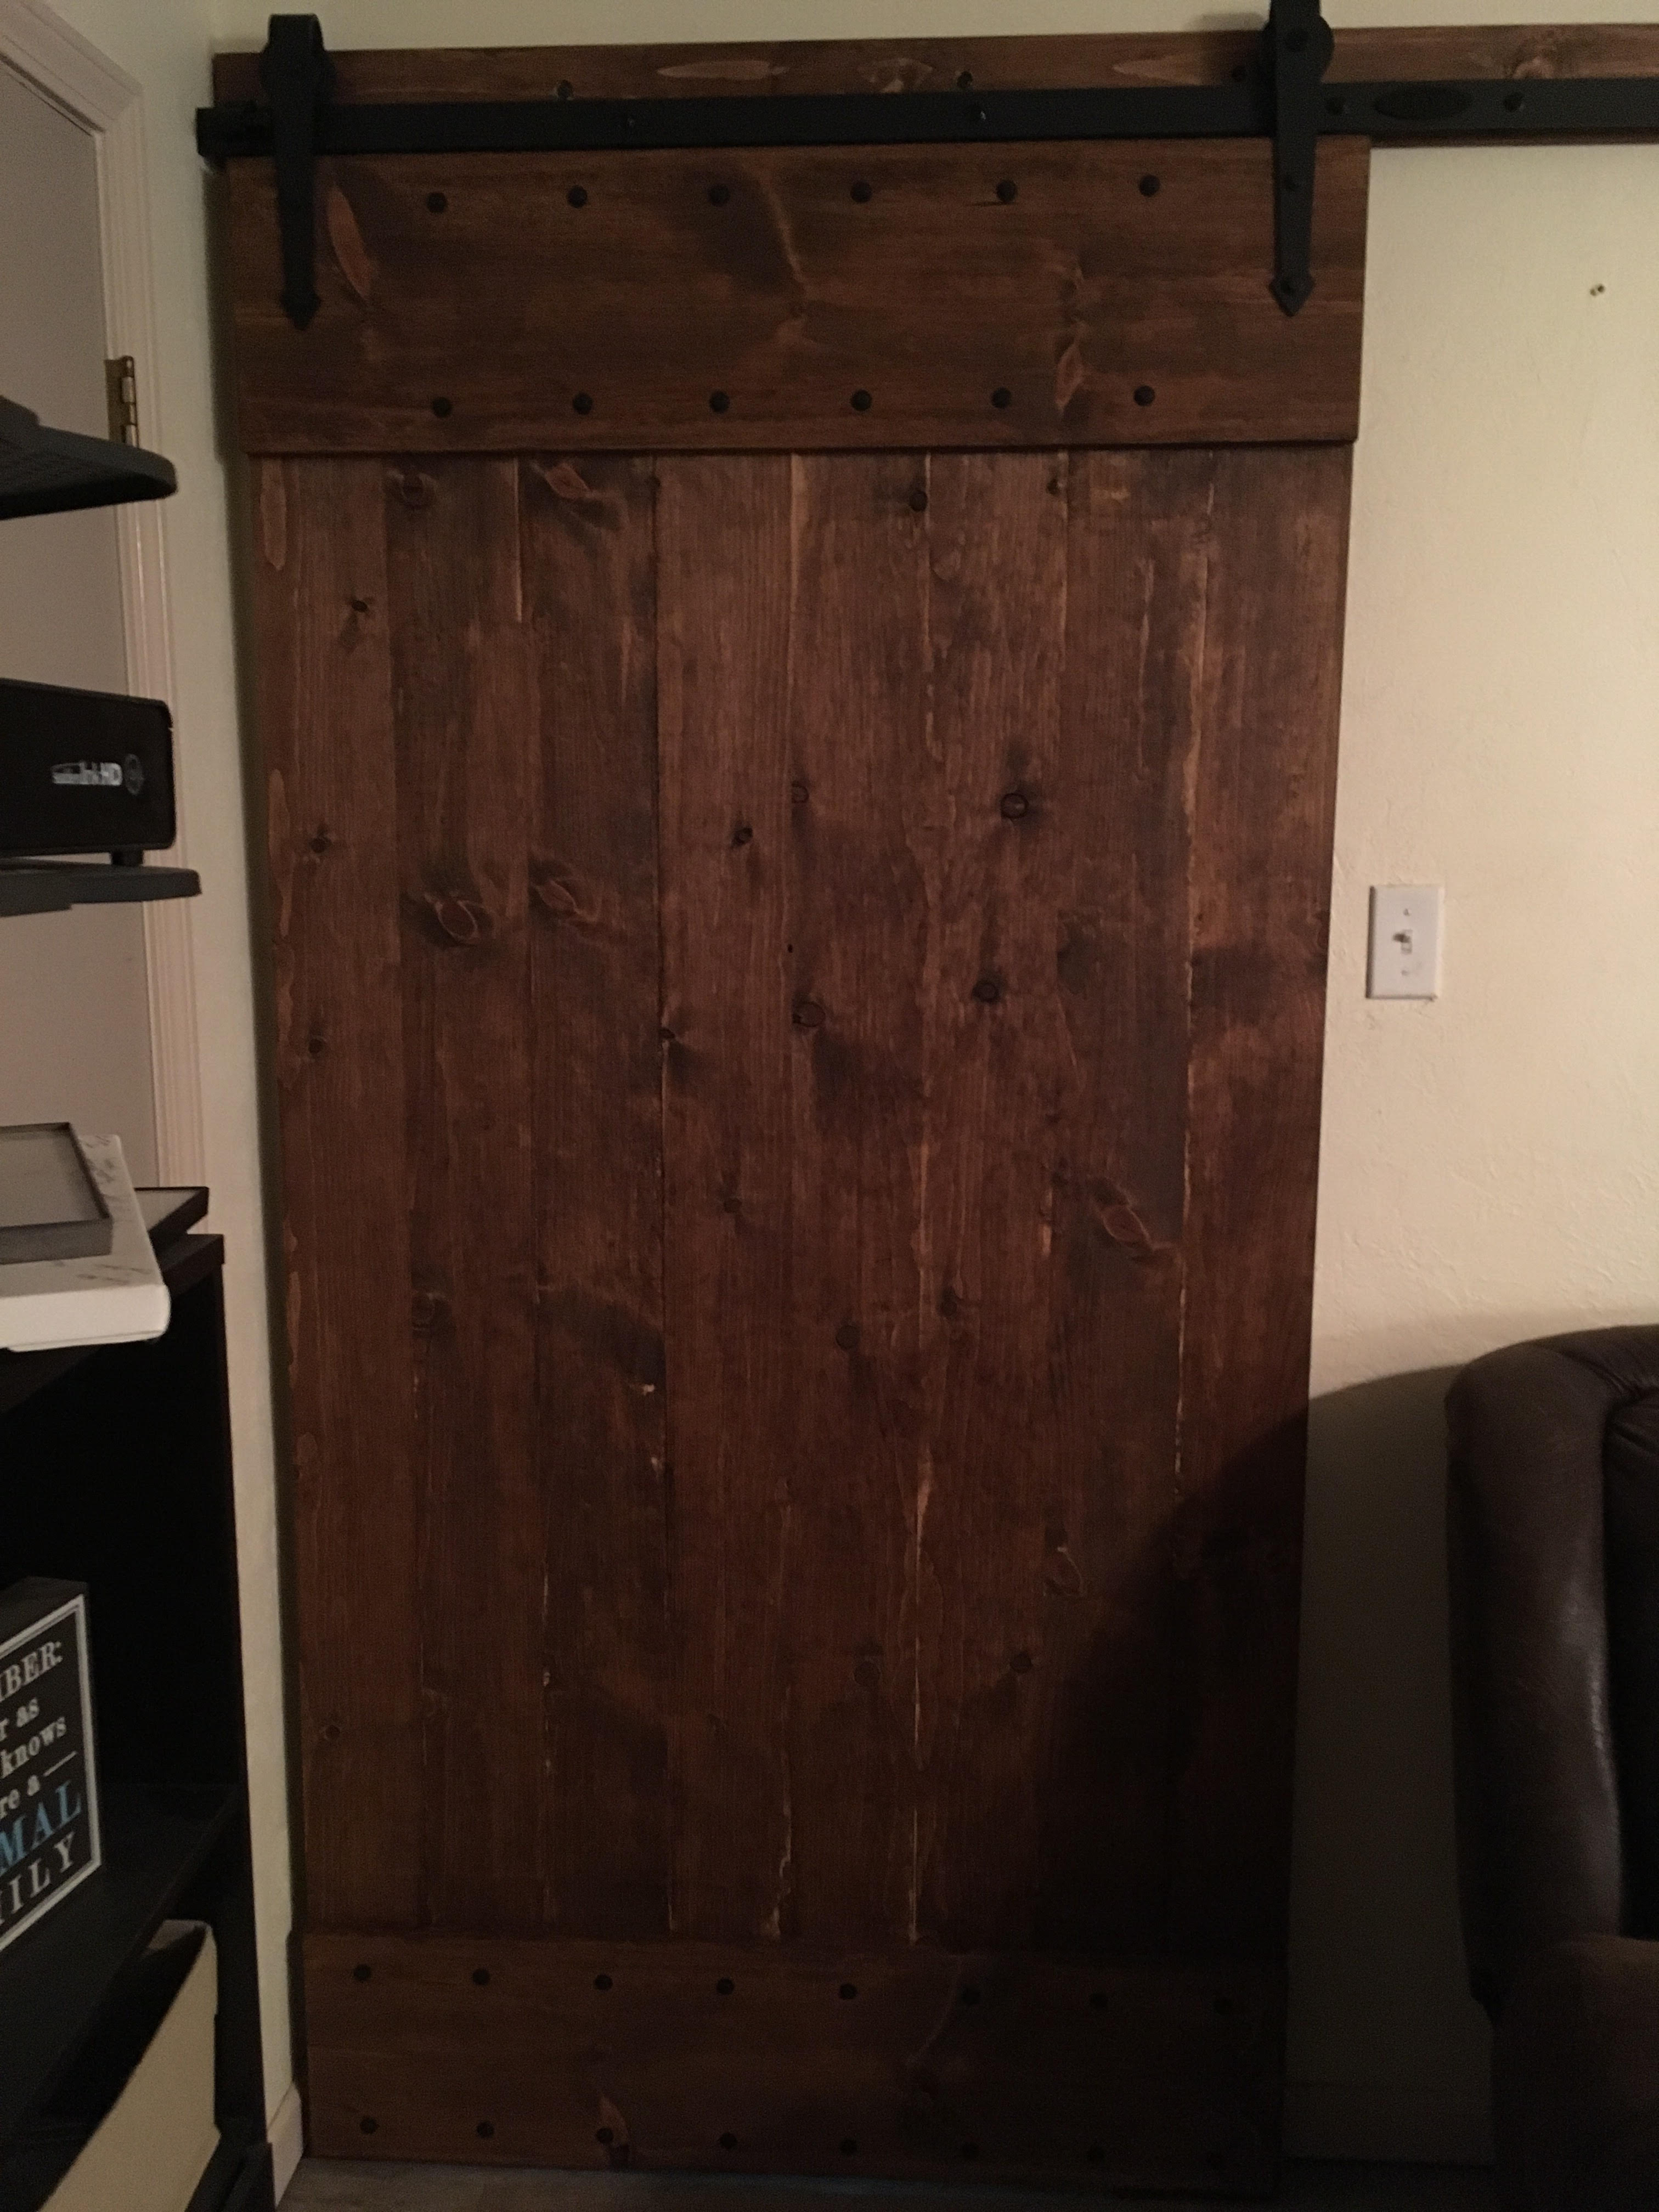
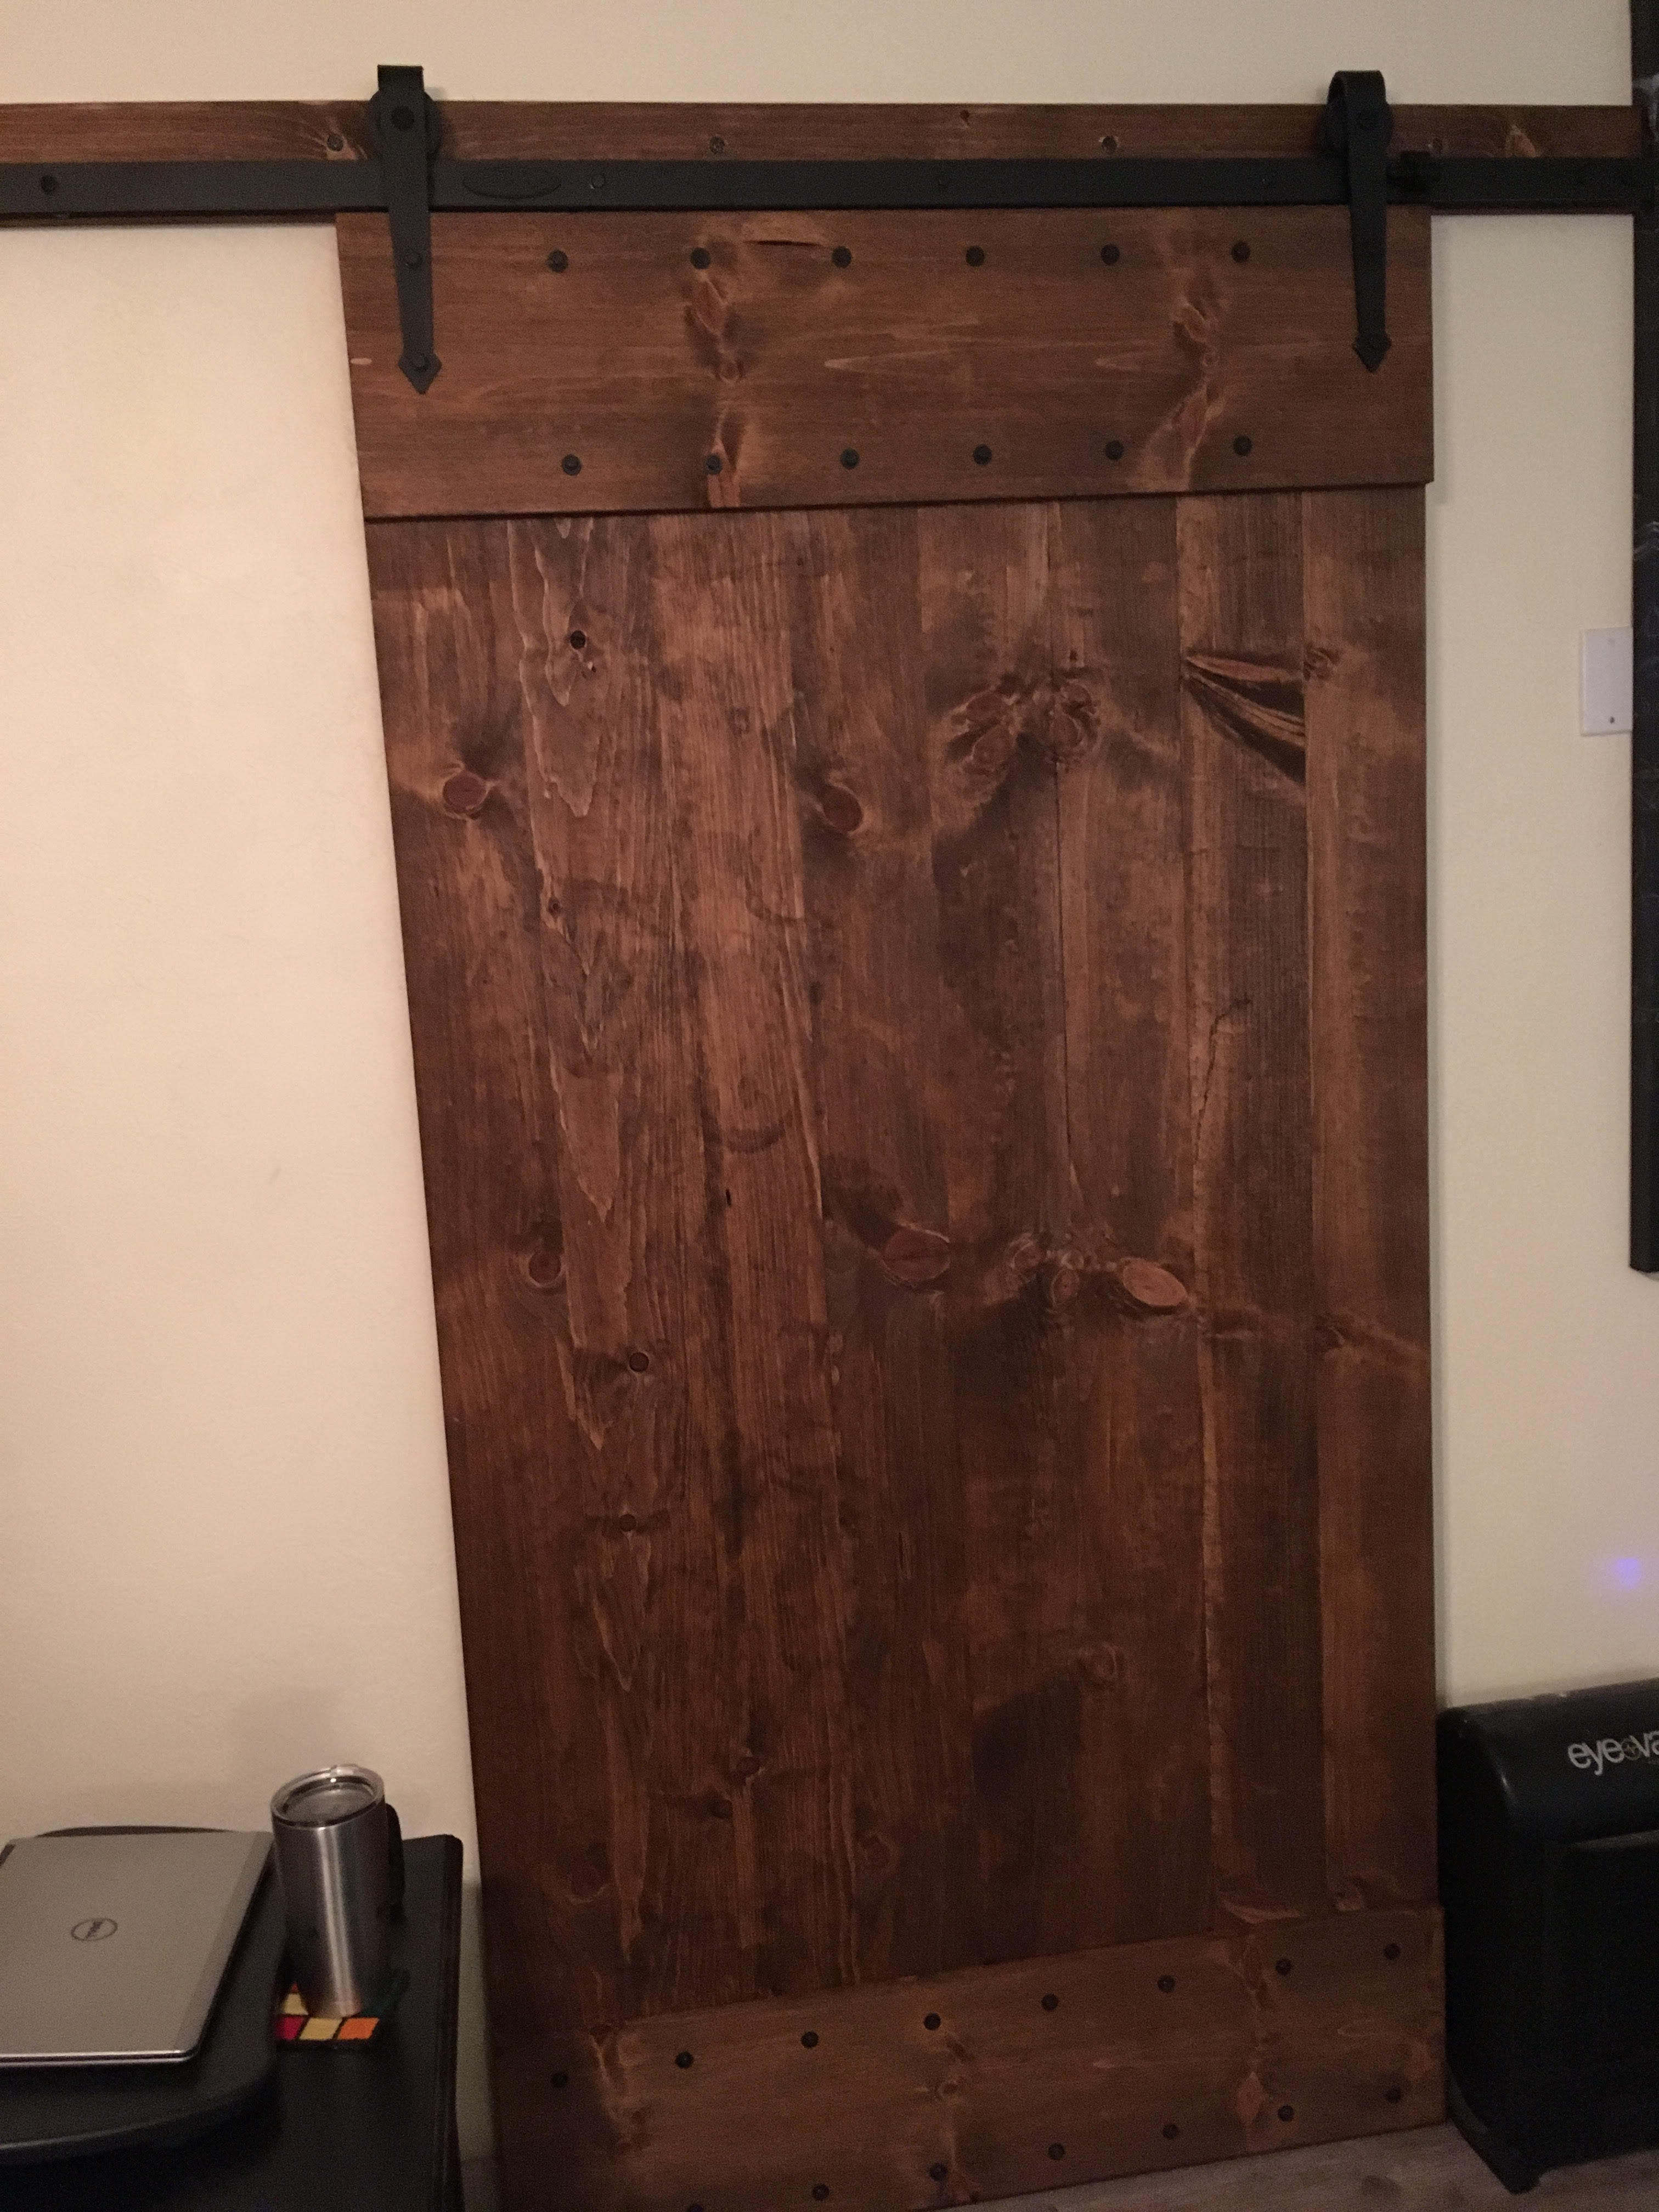
I snapped a few pictures of the one completed door, and the in progress door hanging next to it for a test fit and thought I would post them up. These are made of sugar pine purchased from a local lumber yard for around $200. I purchased this hardware kit from Amazon for $209. Considering the big box stores wanted north of $300 for a single door and hardware kit, I think I came out way cheaper making them myself, even factoring in my time spent.
I wanted a solid mounting point for the hardware, and of course the studs in the wall weren’t going to line up in a way that would let me anchor each lag screw properly, so I ripped a couple of pieces of pine down to 4 inch wide strips and scarf jointed them together to form the 15 foot span. I then pre-drilled holes for the lag screws, and countersunk them so that the heads would clear the rollers for the doors. I also pre-drilled holes in the studs to make sure there were no issues there. The lag screws I used are 3 inches long and I added washers as well for good measure. Fairly certain I could do chin ups on this thing for years with no issues. Once that was done, I stained the pieces with MinWax Early American. I’ve used this color quite a bit, and it’s one of my favorites.
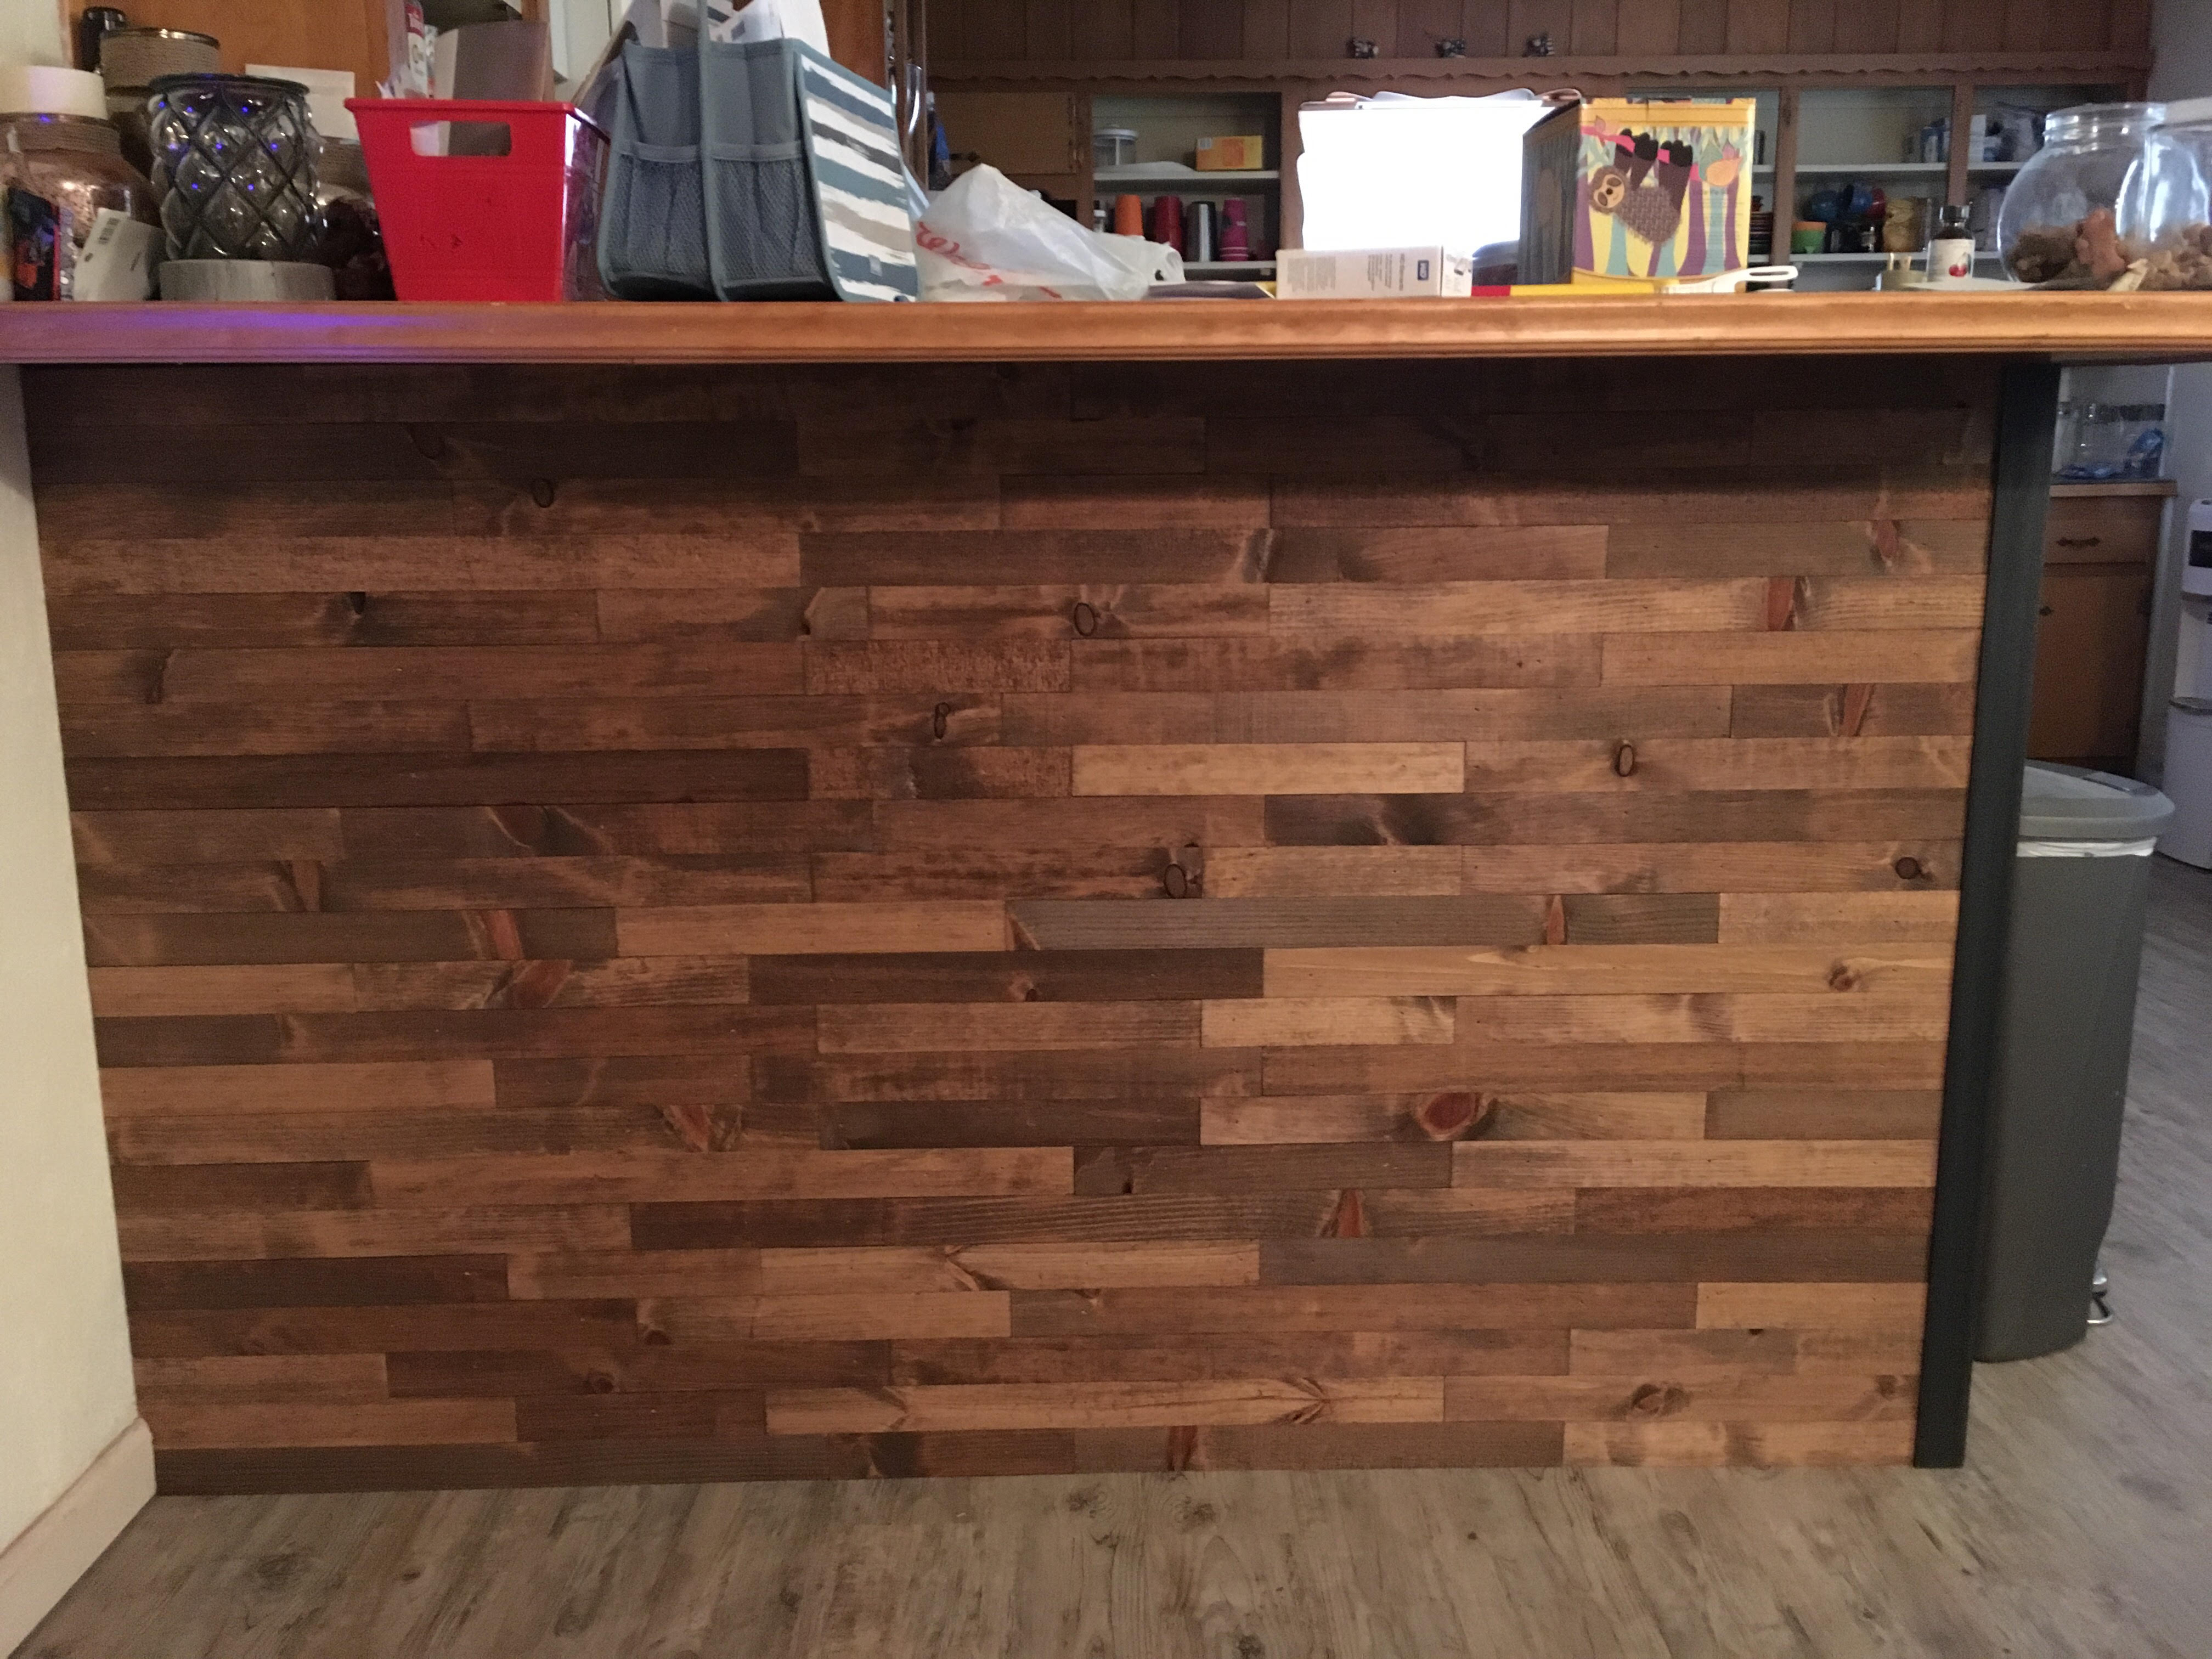
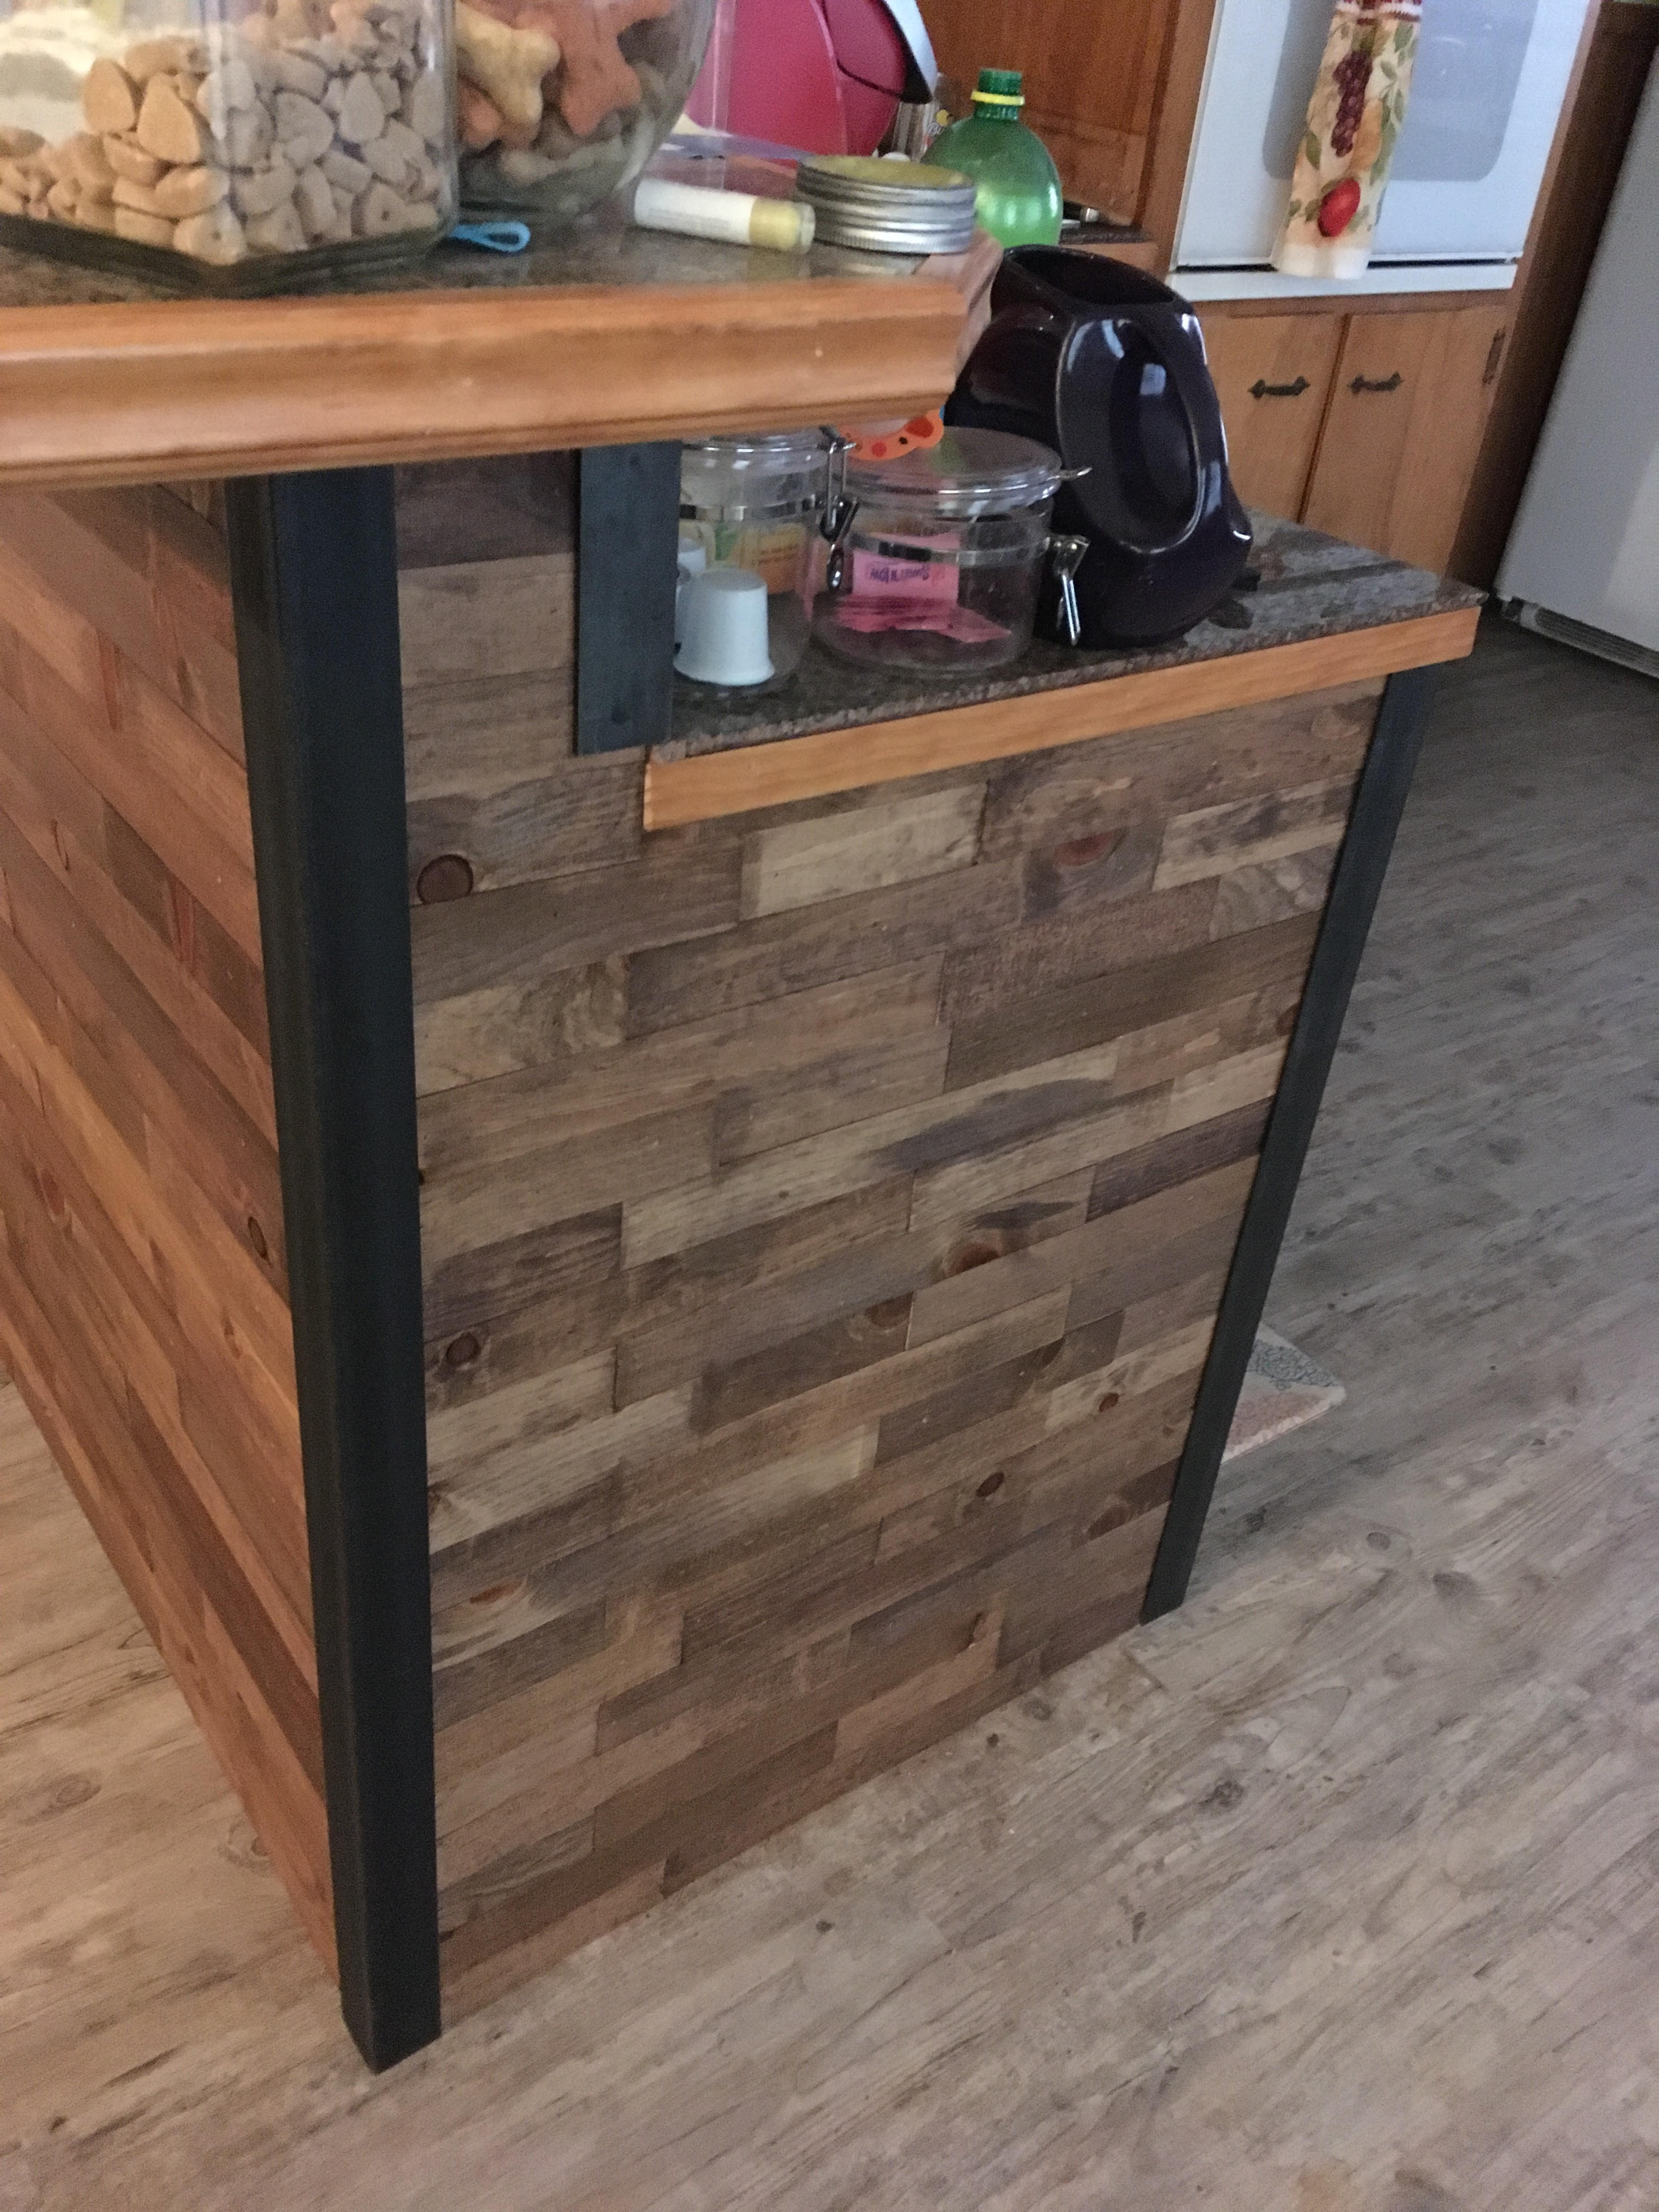
This also matches a previous project, and is carrying a theme throughout the kitchen/living room. We just recently replaced all the flooring in the house, switching from tile to vinyl plank. When I moved in, the bar in the kitchen had the same tile that was on the floor as cladding. After the replacement, we decided to go with a reclaimed wood type look. So I ripped 2 inch wide strips of pine in various lengths and nailed them to the bar, and then used 2 inch angle iron as “trim” pieces.
Anyway, I digress… back to the doors. I then put together and mounted the rail hardware from the kit. It is fairly sturdy, around 1/4″ thick, and has a good powder coat finish. It came in 4 separate pieces that are 3.75 ft long and must be bolted together and then mounted with spacers to your wall/backer board. I ended up being 3 spacers/lag screws short, but I emailed the seller on Amazon and they shipped me out replacements right away. Overall I’m pretty impressed with this kit, the doors glide smoothly and the rollers are very quiet.
With that out of the way, I started on the actual construction of the doors themselves. Each door is made up of eight 5 1/4″ strips glued together and then a 42″ x 10″ cross brace. I first glued up the long pieces and let them setup for 24 hours, and then glued on the cross braces. The screws/washers you see on the finished doors in the pictures are really just there for decoration, they’re 1 1/4″ lag screws and 5/16″ washers spray painted matte black. I pre-drilled holes and screwed them in by hand after the staining was complete. Overall these doors measure 42 inches wide by just under 7 feet tall.
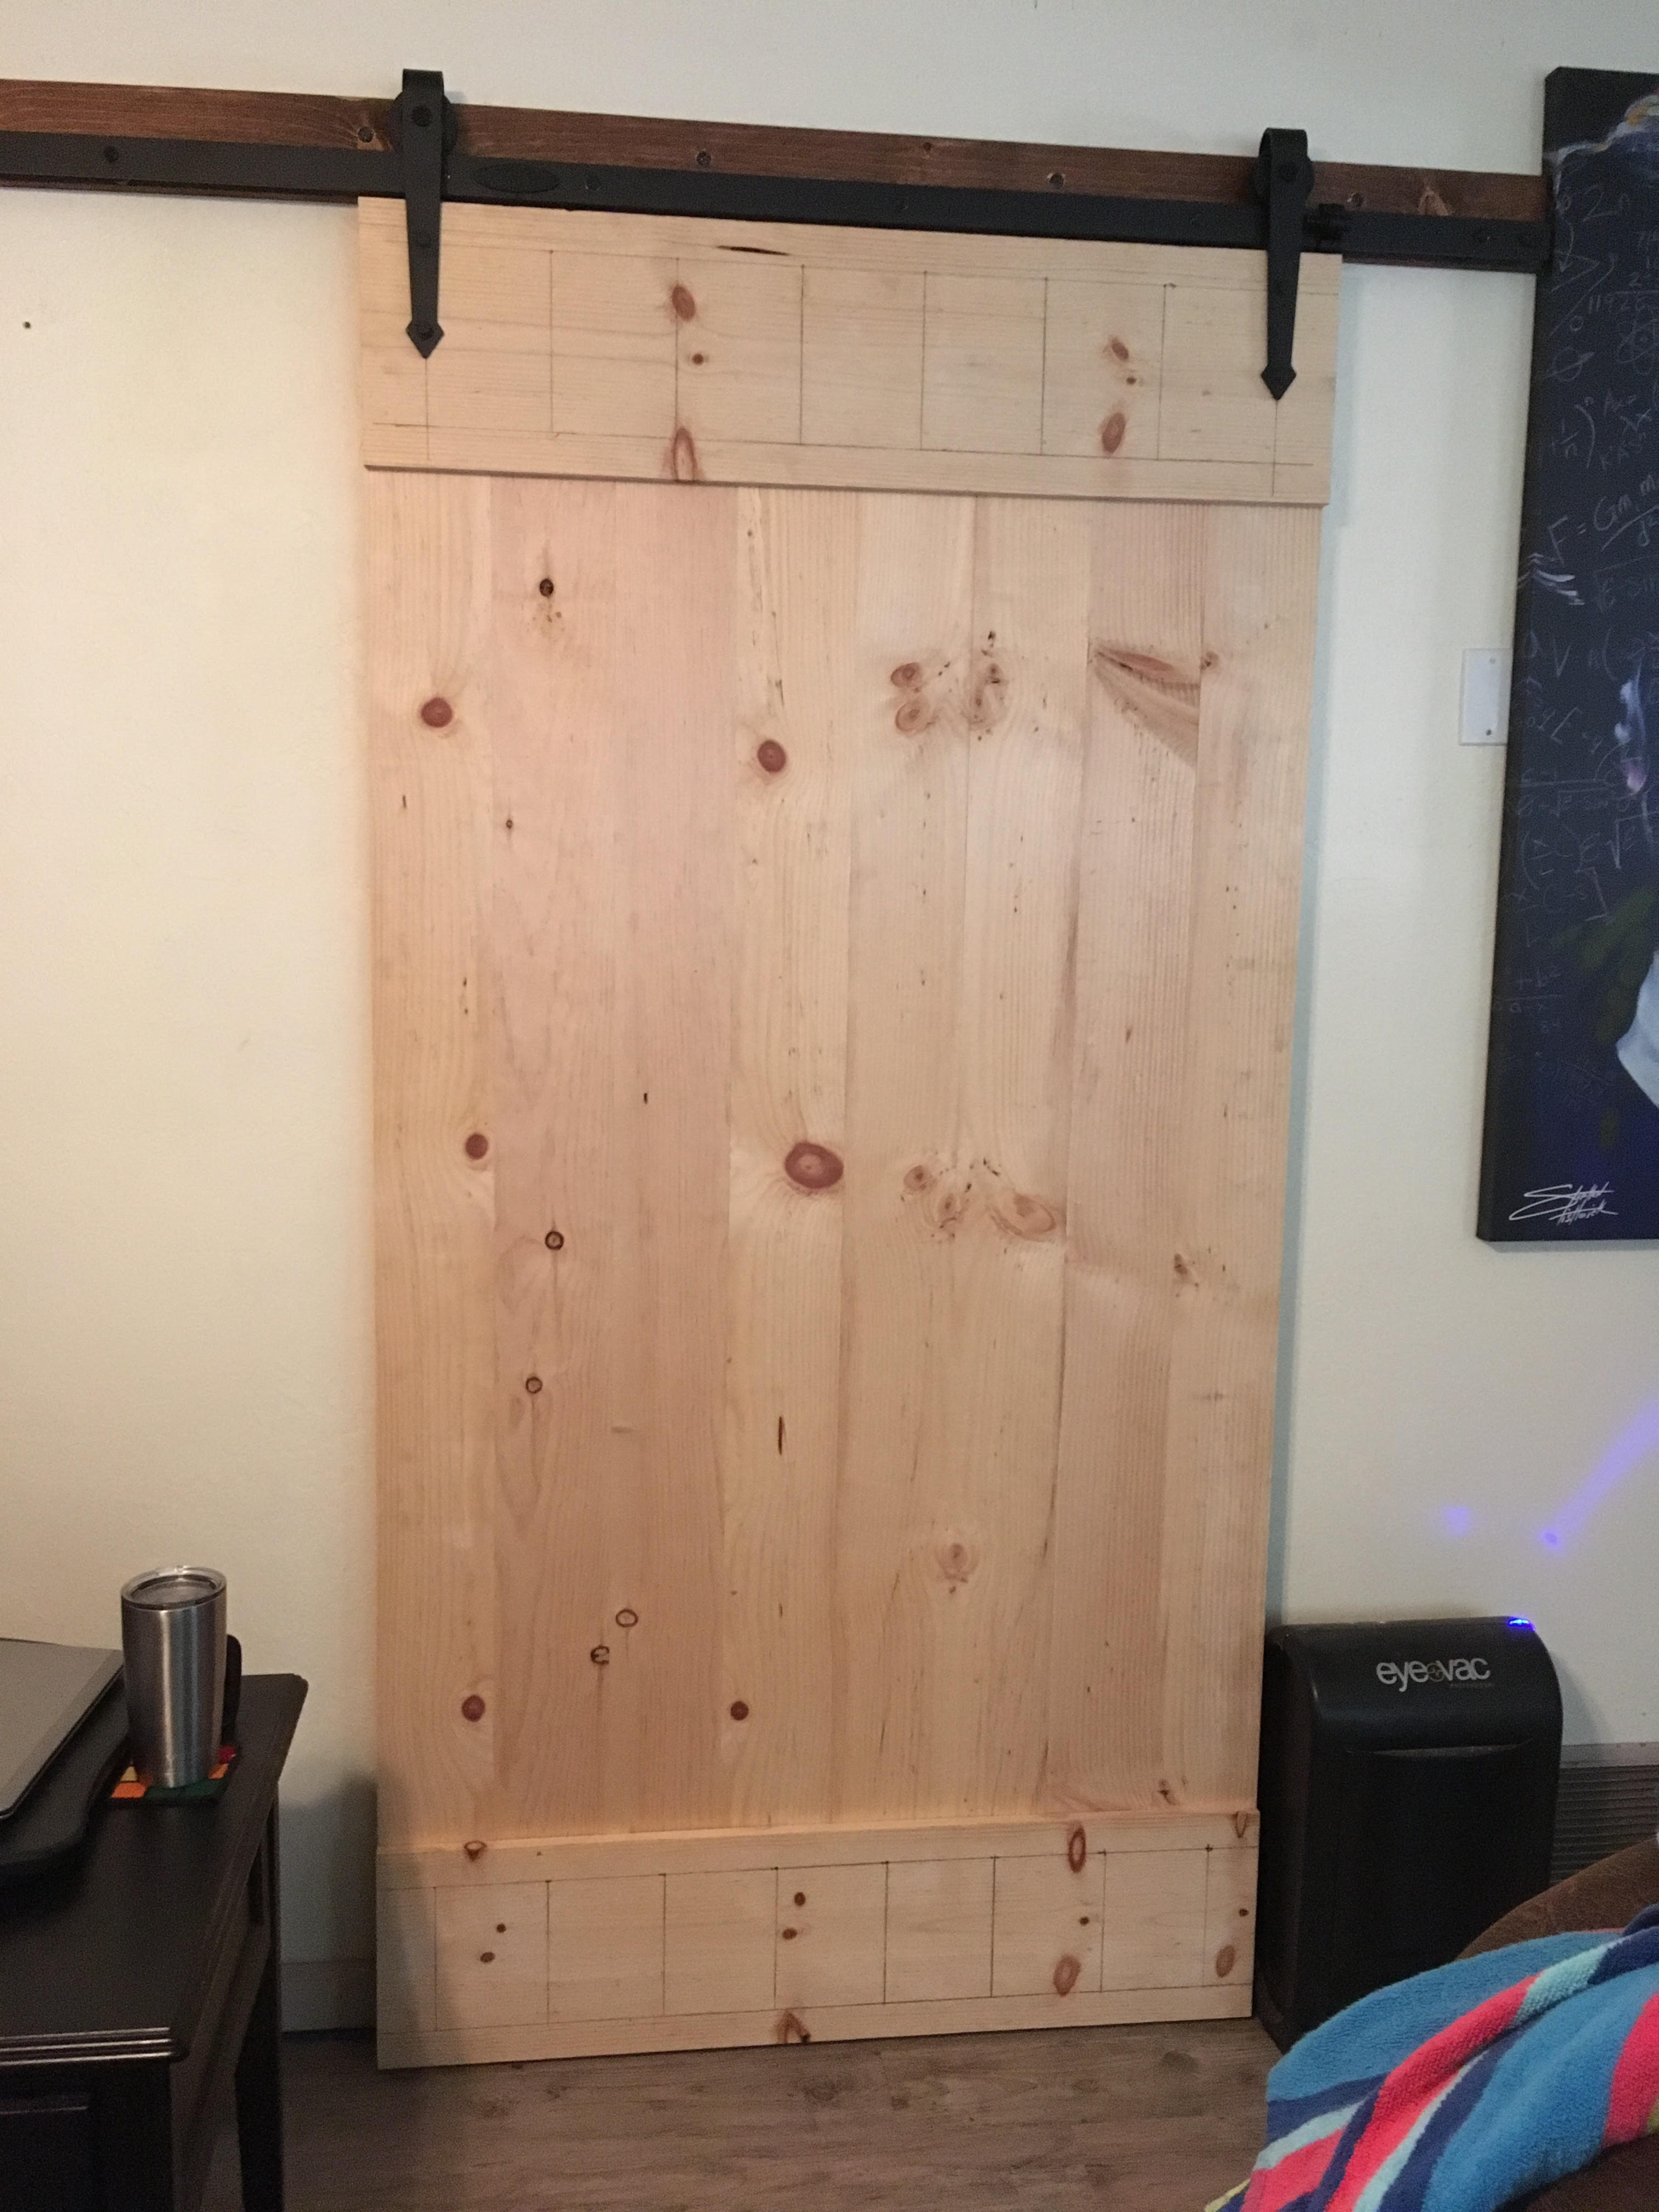
Here is a close up shot of one of the unfinished doors up for a test fit, you can see the pencil marks where I have laid out a grid for the decorative hardware.
And here are a series of pictures of the completed doors in all their glory.
There used to be some pictures and other decorations hanging in the blank space between the doors which we had to take down to allow them to close. My wife is planning to make something out of vinyl and stick it to the wall there so it doesn’t look so barren when the doors are closed. They remain in the open position 90% of the time though, only getting closed when we let our dogs in the house in the evenings.
The next project to come is painting the kitchen cabinets, you may have noticed how hideous they look from what little you can see of them in the bar pictures above. This house was built in the 60s, and the cabinets very much reflect that. While I normally would not want to paint over real wood, in this case I had to make an exception. I’m currently trimming out the cabinet doors to give them a shaker style look and filling in holes from previous hardware, then they’re going to get a nice grey coat of paint to match the rest of the space.

Leave a Reply